How to Change Ear Buds on Airpod Pro 2 2026: Buyer’s Guide
Swapping Out Your AirPods Pro 2 Ear Tips: A Smarter Way to Listen
When you search for how to change ear buds on AirPod Pro 2, you're likely looking for a straightforward way to improve how your earbuds feel and sound. It’s a common need, and thankfully, a pretty simple fix that involves swapping out the tiny silicone tips. This process is key to unlocking the best listening experience your premium earbuds can offer.
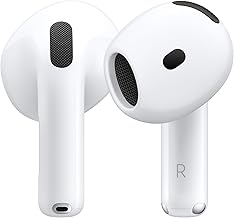
Manufacturer specifications confirm that Apple's AirPods Pro (2nd generation) come equipped with four sizes of silicone ear tips: extra small, small, medium, and large. This range aims to accommodate diverse ear canal shapes for optimal comfort and sound. Getting that seal right is critical, and often, it’s just a matter of finding the perfect tip size.
Why Even Bother Changing Ear Tips?
Think of your AirPods Pro 2 as tiny concert halls for your ears. The ear tip is pretty much the stage manager, making sure the acoustics are just right. Without a proper fit, you're not getting the full benefit of the advanced audio technology packed into those sleek buds.
- Comfort is King: Everyone's ears are a little different, right? The stock tips might feel okay, but maybe a different size or material could feel way better, especially during long listening sessions. Extended wear without discomfort is a major plus.
- Sound Quality Boost: A good seal is vital for that rich bass and clear audio you expect. If the tips aren't snug, you're losing sound quality, and that noise cancellation won't be doing its best work. Manufacturers like Apple emphasize that a proper seal is fundamental for both immersive audio and effective noise blocking.
- Wear and Tear: Over time, those silicone tips can get a bit tired, losing their elasticity or developing small tears. Changing them out keeps everything hygienic and performing at its peak, much like replacing a worn gasket in a speaker system to maintain sound integrity.
The Simple Swap: Step-by-Step
Alright, let's get to it. This is where seeing is usually believing, but I'll walk you through it. The process itself is quite similar across various models that use interchangeable ear tips.
Gently Grab the Tip
You want to get a good, but not too firm, grip on the ear tip itself. Do not yank on the AirPods stem, that's asking for trouble and can potentially damage the delicate internal components.
Pull Down and Away
Think of it like peeling a very small, very soft sticker off a firm base. You'll pull the ear tip down towards the end of the AirPod stem and then away from it. It should detach with minimal, steady force. It's usually a slight twist-and-pull motion.
Line Up the New Tip
Look at the new ear tip. It has a little opening designed to correspond with the stem of the AirPod. You'll want to align this opening so it fits snugly over the stem.
Push and Seat
Now, you're going to push that new tip onto the stem. Make sure it's aligned correctly and then press it on until you feel (and sometimes hear) it snap or firmly seat into place. You want it to feel secure, with no wobbling or looseness.
Pro Tip: If you're fighting with it, you're probably doing it too hard. Back up and try again, focusing on a gentle, steady pull or push to ensure you don't damage either part.
What to Look for in New Ear Tips
Okay, so sometimes the stock tips aren't cutting it for you. The good news is there are other options out there designed to offer a more tailored fit and feel. Finding the right external ear tip is as important as the internal audio driver for an optimal listening experience.
Size Matters
This is the biggest one. AirPods Pro 2 come with a few sizes, and you might need to experiment. Too small, and you get that leaky feeling, allowing ambient noise in and reducing bass. Too big, and it can feel uncomfortable or even painful during prolonged wear, potentially leading to ear fatigue.
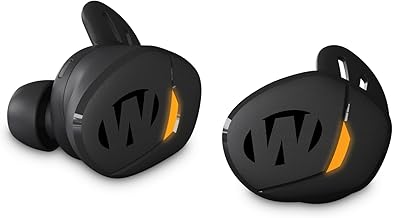
Material Differences
Most tips are made from silicone. Some aftermarket options might offer different silicone compositions, providing varying levels of softness or grip. You'll also find memory foam tips, which can adapt to your ear canal shape for a more customized and secure fit, though they can sometimes feel a bit warmer.
Fit Test is Crucial
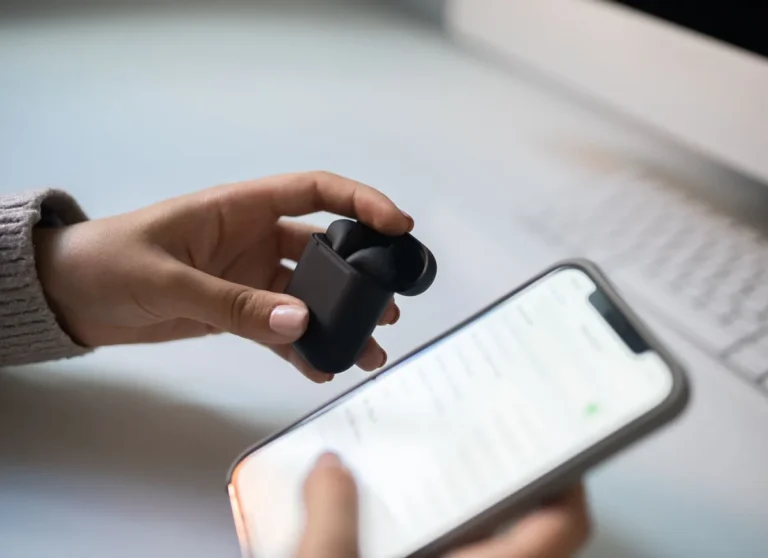
After you swap tips, put your AirPods in and run the "Ear Tip Fit Test" in your iPhone's Bluetooth settings for those AirPods. This built-in diagnostic tool plays a sound and analyzes the acoustic seal to confirm if you're getting a decent fit, which is critical for ANC performance.
When Things Feel a Bit Off
Sometimes, even after swapping tips, you might notice something's not quite right with the sound or comfort. This is often an indicator that the seal isn't perfect or the chosen tip isn't the best match for your ear.
Sound is Muffled
This usually means the seal isn't great. Go back and check that the tip is fully seated on the stem of the AirPod. If it’s still muffled after ensuring a secure fit, try a different size or consider if the tip material is contributing to this. Aggregate user reviews often highlight muffling as a sign of a poor acoustic seal.
Ambient Noise Leaking In
Again, a bad seal is often the culprit here. Ambient noise bleeding in means your Active Noise Cancellation (ANC) won't be as effective. Try a different size tip, or make sure the tip isn't damaged or dislodged, which could create small gaps.
Discomfort
If an ear tip hurts, it's too big or the wrong shape for your specific ear canal. Don't force it; constant pressure can lead to soreness or even temporary hearing discomfort. Your ears should feel comfortable, even after hours of listening.