How to Pair Ear Buds With Phone in 2026 (Hands-On Review)
Hey there! So you've just unwrapped a shiny new pair of earbuds and your phone's sitting there, ready to be best friends with them. Awesome! Getting them to talk to each other is usually pretty straightforward, but sometimes it can feel like playing matchmaker.
Don't sweat it, though. I’ve been through this drill countless times, so let’s break it down so you can get to the good stuff, your music, podcasts, or that important call.
There are a few ways earbuds connect to your phone, and the steps change a bit depending on which type you have. Mostly, it’s either wired (simple as plug-and-play) or wireless (usually Bluetooth). We'll focus on the wireless ones here because that's where most folks might scratch their heads a bit.
First Things First: What Kind of Earbuds Are We Talking About?
This is the big question that guides us. Understanding your basic earbud connection type is the first step to getting them paired.
Wired Earbuds: The Simple Plug-In
These are the most straightforward. If your earbuds have a cable with a 3.5mm audio jack (a common headphone port) or a USB-C connector, you’re likely dealing with wired earbuds.
- How they work: They create a direct physical connection to your phone's audio output. As of 2026, while many new phones omit the headphone jack, USB-C audio is widely supported for wired connections.
- Connection: Just plug the cable into the correct port on your phone. Many devices automatically switch audio output to the wired earbuds the moment of connection.
Wireless Bluetooth Earbuds: The Main Event
These are the most common now. They use Bluetooth, a short-range wireless technology standard, to connect to your phone.
- How they work: Bluetooth allows devices to exchange data wirelessly over short distances. Earbuds pair with your phone using Bluetooth profiles to transmit audio.
- Connection: This requires a specific pairing process between the earbuds and your phone. We'll cover that in detail next.
Let's Get Your Bluetooth Earbuds Connected: The Step-by-Step Guide
Getting your wireless buds talking to your phone usually follows a predictable path. It’s less about complex tech and more about following a few key prompts.
Step 1: Power Up and Prep Your Earbuds
Before you even touch your phone, make sure your earbuds are ready to go. A dead battery is the most common culprit for pairing failures.
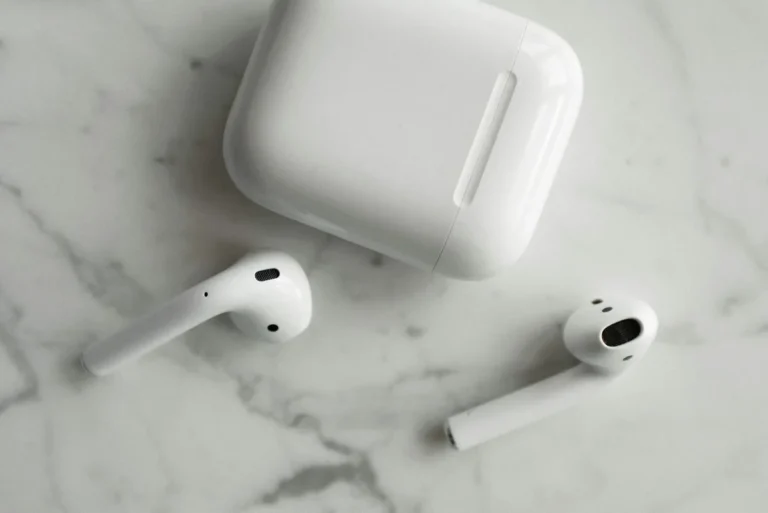
Charge 'em: Pop your earbuds into their charging case. Many cases have indicator lights that show charging status. Aim for at least a 30-minute charge if they’re completely dead.
Put them in Pairing Mode: This is the crucial step that tells your earbuds to be discoverable by new devices. How you do this can vary by brand.
- Auto-Pairing: For many earbuds, just taking them out of their charged case automatically puts them into pairing mode, especially if they haven't been paired to a device before.
- Button Press: Some earbuds have a specific button on the buds or on the charging case. You usually need to press and hold this button for several seconds until an indicator light starts flashing. This flashing light is your signal that they're ready to link up. Refer to your earbud's user manual for the exact procedure.
Step 2: Prep Your Phone for Pairing
Now, let’s get your phone ready to find and connect to your earbuds.
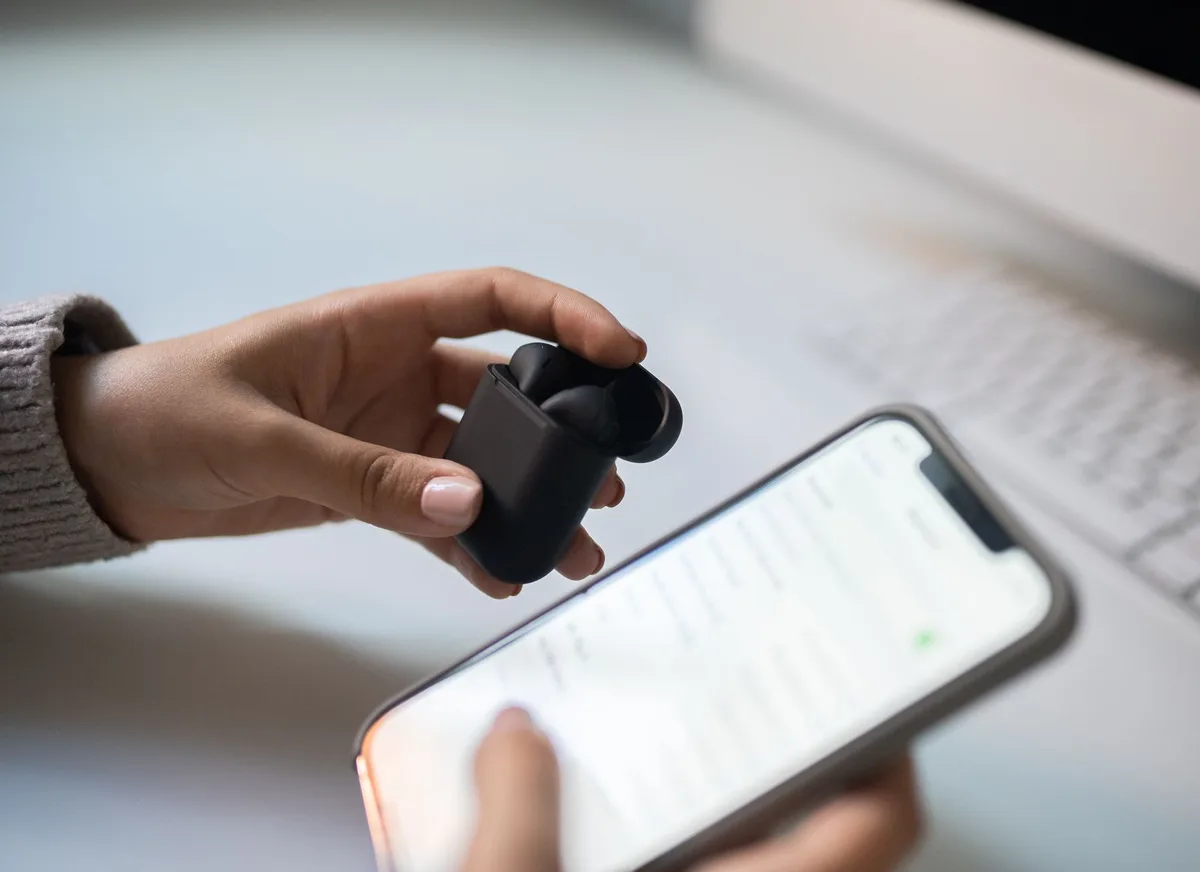
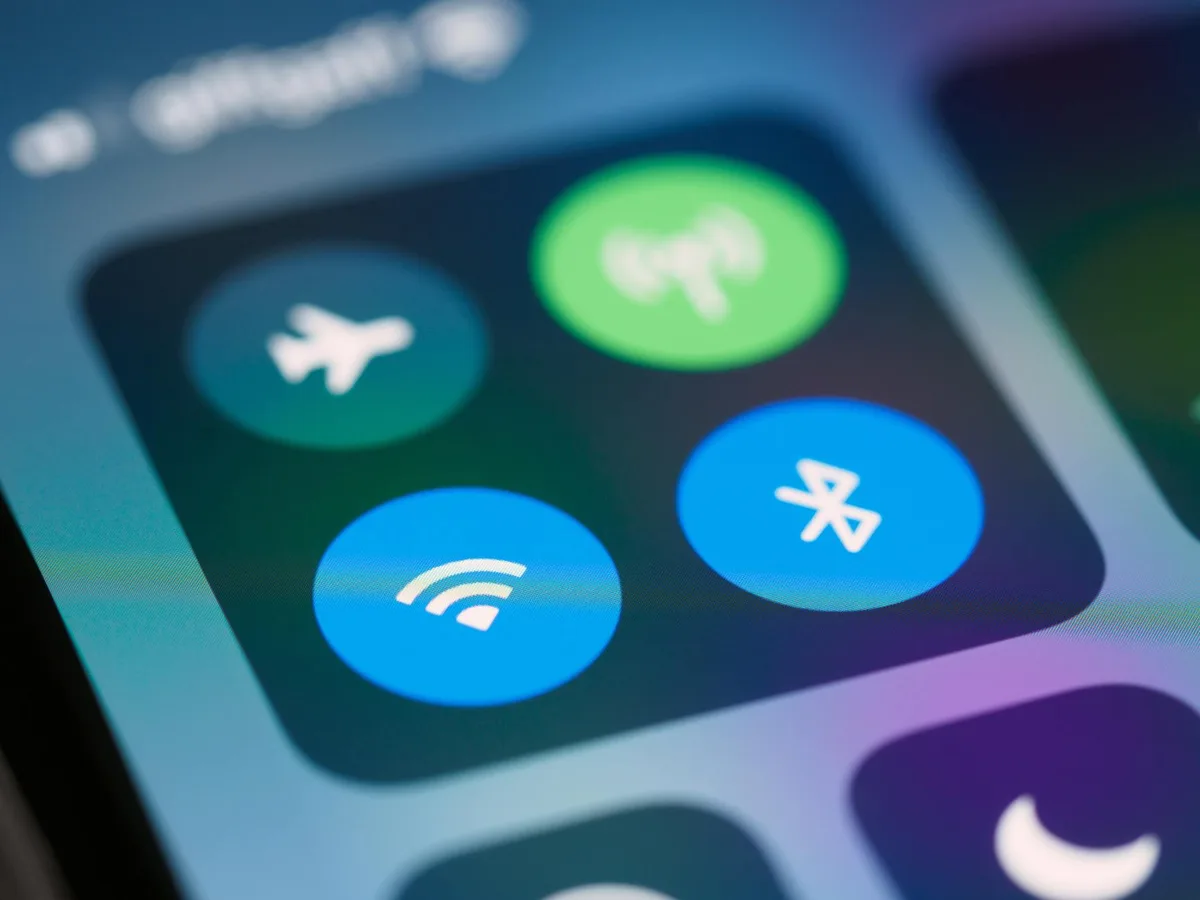
- Turn on Bluetooth: Navigate to your phone’s settings menu. You’ll find a "Bluetooth" option there. Make sure it’s switched ON.
- On iPhones, this is typically Settings > Bluetooth.
- On Android devices, you’ll usually find it under Settings > Connected devices > Connection preferences > Bluetooth.
- Make Sure it's Discoverable: Your phone will usually start scanning for nearby Bluetooth devices automatically once Bluetooth is enabled.
Step 3: The Pairing Process: Making the Connection
With both your earbuds and phone prepped, it’s time to establish the link.
- Look for your earbuds in the list: On your phone’s Bluetooth screen, you’ll see a list of available devices. Your earbuds should appear here by their brand or model name (e.g., "Galaxy Buds," "Sony WF-1000XM4," "AirPods").
- Tap to connect: Once you spot your earbuds' name, tap on it. Your phone will initiate the connection.
- Confirmation: You’ll typically get a notification on your phone indicating that the connection is successful. Often, the earbuds themselves will also make a sound or their indicator light will change from flashing to solid, confirming the pairing.
That’s it! You should now be able to stream audio from your phone through your newly paired earbuds.
What if They're Being Stubborn? Troubleshooting Common Pairing Problems
Sometimes, technology doesn't play nice straight out of the box. If your earbuds aren't connecting, don't panic. Most issues can be fixed with a few simple steps.
Restart Everything: The Classic Fix
This is often the simplest solution because it clears out temporary glitches in both devices.
- Turn off Bluetooth on your phone: Go back into your phone’s Bluetooth settings and toggle it OFF.
- Reset your earbuds: Put your earbuds back into their charging case, close the lid, and wait about 10, 15 seconds.
- Turn Bluetooth back on: Re-enable Bluetooth on your phone and then open your earbud case again.
- Attempt pairing: Your phone should start scanning again. See if your earbuds appear in the list and try connecting.
Forget the Device and Start Fresh
If your earbuds have been paired before and are now refusing to connect, or if you suspect a corrupted pairing profile, this is your next best bet.
- Locate the earbuds in your phone's Bluetooth settings: Find the name of your earbuds in the list of "Paired Devices" or "My Devices."
- Select "Forget This Device" or "Unpair": Most phones offer an option to remove the device from your saved connections.
- Restart the pairing process: Follow the original pairing steps (Steps 1-3 above) as if they were brand new. This forces a completely new connection handshake.
Double-Check the Earbuds' Specific Instructions
Every earbud manufacturer has slightly different methods for initiating pairing mode and troubleshooting.
- Consult the Manual: The small booklet that came with your earbuds is your best friend here. It will detail the exact button presses, light indicators, or case actions needed to reset or enter pairing mode for that specific model.
- Manufacturer Websites: If you've lost the manual, the official website for your earbud brand usually has support sections with digital copies of manuals or troubleshooting guides.
Don't Forget Battery Levels and Proximity
Sometimes the simplest things are overlooked.
- Check Battery: Ensure both your phone and your earbuds have sufficient battery life. Low battery on either device can cause connection instability or prevent pairing altogether. Many earbud cases will indicate battery level with lights, and phones clearly show their battery percentage.
- Maintain Proximity: During the initial pairing process, keep your earbuds very close to your phone, ideally within a meter (about 3 feet). Once paired, the connection range is generally much larger, but initial setup requires close proximity.
Pro-Tip: Keeping Your Earbuds Connected Automatically
Once you’ve successfully paired your Bluetooth earbuds, the beauty is that they should reconnect automatically moving forward.
- Open the Case: For most models, all you need to do is open the charging case when the earbuds are inside.
- Remove the Earbuds: Taking the earbuds out of the case is often the trigger for reconnection.
- Bluetooth ON: Ensure your phone’s Bluetooth is still enabled. Your earbuds should appear in your phone's "Paired Devices" list and connect within seconds.
If they don't automatically reconnect, repeating the "forget device" and re-pairing process typically resolves the issue.