How to Pair Jlab Ear Buds 2026
Getting your JLab earbuds synced up with your device is usually a quick process, but sometimes it feels like a puzzle. You've got new earbuds, and all you want is your music, podcast, or that important call. It's frustrating when the Bluetooth connection just isn't cooperating right out of the box.
We've gathered information to help you smoothly connect your JLab earbuds, whether it's your first time or you're troubleshooting a hiccup. The Bluetooth 5.0 standard, common in many JLab models, is designed for stable, efficient wireless audio. We'll walk you through the common steps that work for most JLab models and offer solutions for when things don't go as planned.
Quick Answer: How to Pair JLab Earbuds
To pair your JLab earbuds, first ensure they are out of the charging case and powered on. Then, activate pairing mode, this often involves holding down a button or touch sensor on both earbuds until indicator lights flash. Finally, go to your device's Bluetooth settings, search for available devices, select your JLab earbuds from the list, and confirm the connection.
Getting Your JLab Earbuds Ready to Pair
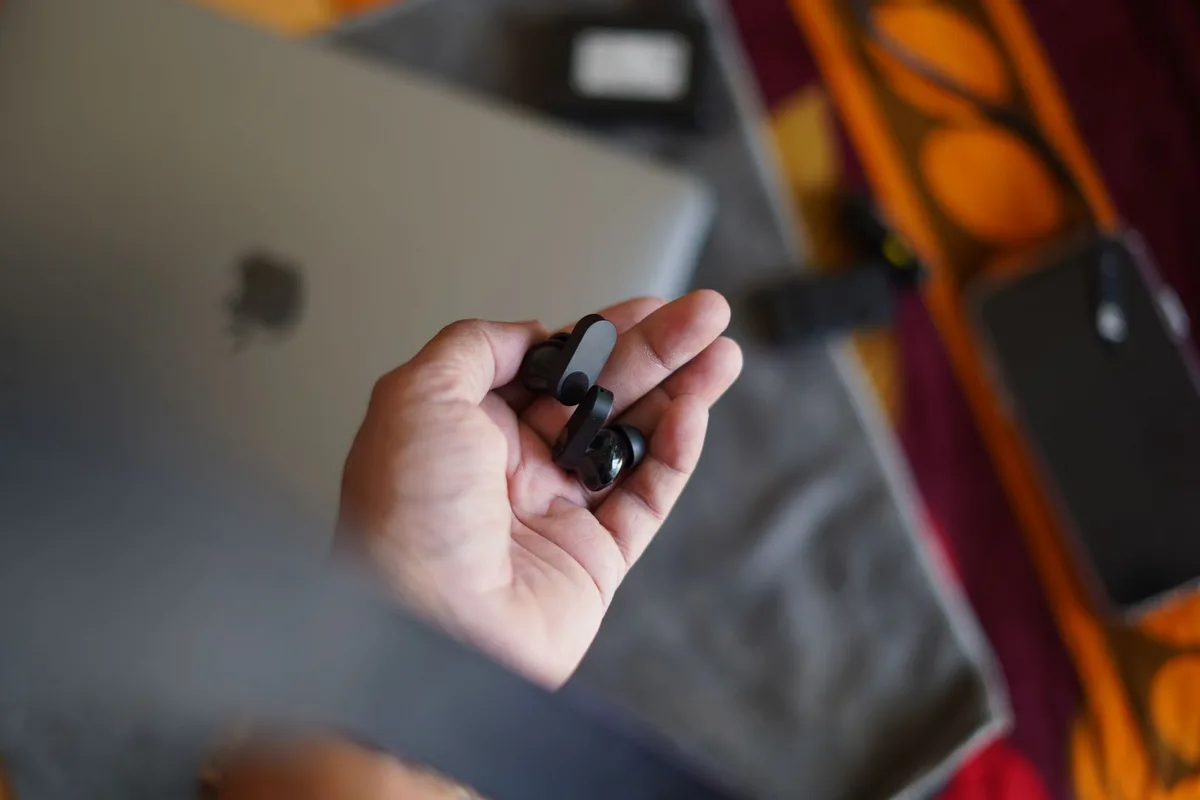
Before you dive into the device settings, it's essential to get your JLab earbuds themselves prepared. Think of this as putting them in the right headspace to find a new connection. This usually involves two main things: making sure they have power and putting them into that special "pairing mode."
Powering On and Initial Setup
Most JLab true wireless earbuds automatically power on when you take them out of their charging case. You’ll often hear a little chime or see a light flash on the earbuds themselves, signaling they're awake and ready. If your model has a separate power button, you’ll need to press and hold it for a few seconds until you get that confirmation.
When you first get your earbuds, they're usually designed to enter pairing mode automatically on the first use. This helps you get them connected to your primary device without an extra step. It’s a convenience feature built into their initial setup.
Activating Pairing Mode for Your JLab Model
This is the part that catches people up sometimes. Pairing mode is what makes your earbuds discoverable by your phone, tablet, or computer. Manufacturer specifications for many JLab models indicate that after the initial automatic pairing, you might need to manually activate pairing mode.
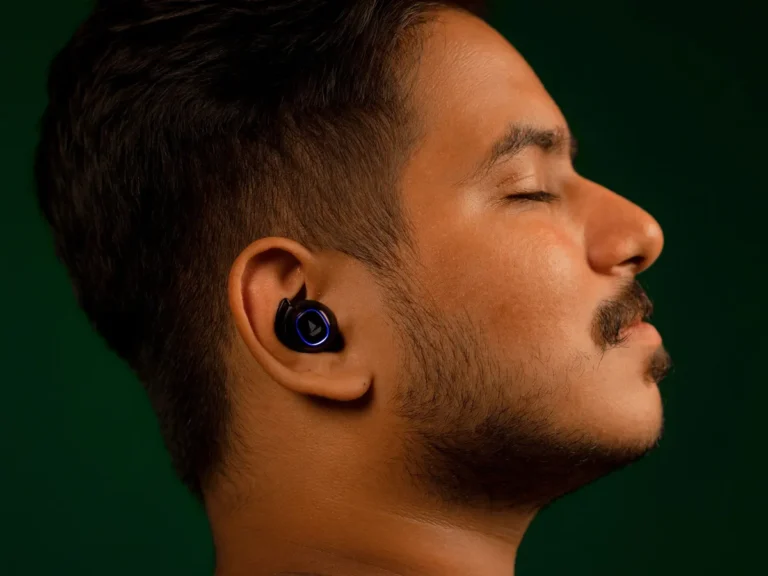
To do this, you typically need to press and hold the touch sensor or button on both earbuds simultaneously for about 5 to 10 seconds. Watch for a specific flashing pattern on the earbuds' indicator lights, often, this is a rapid flashing of blue and white lights, or just a quick blinking blue. You might also hear a distinct audio cue, like a "pairing" sound or a spoken word, directly from the earbuds. This is your signal that they are now broadcasting their Bluetooth signal for a new device to find.
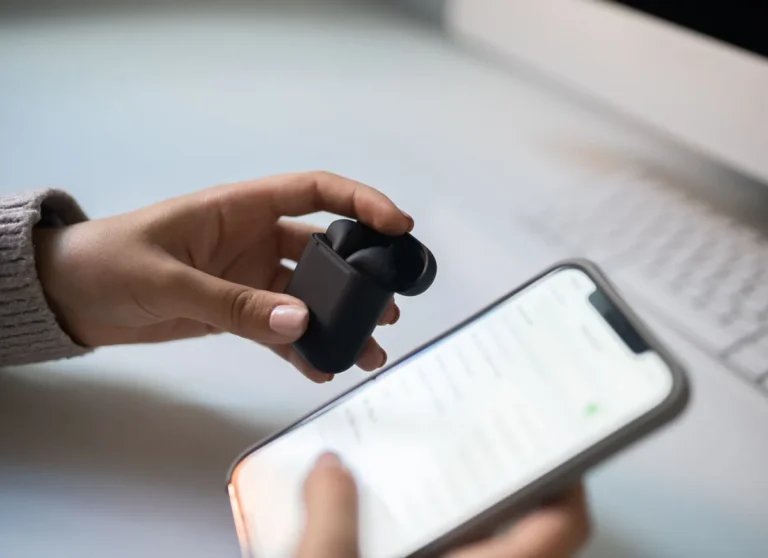
Connecting to Your Device: The Main Event
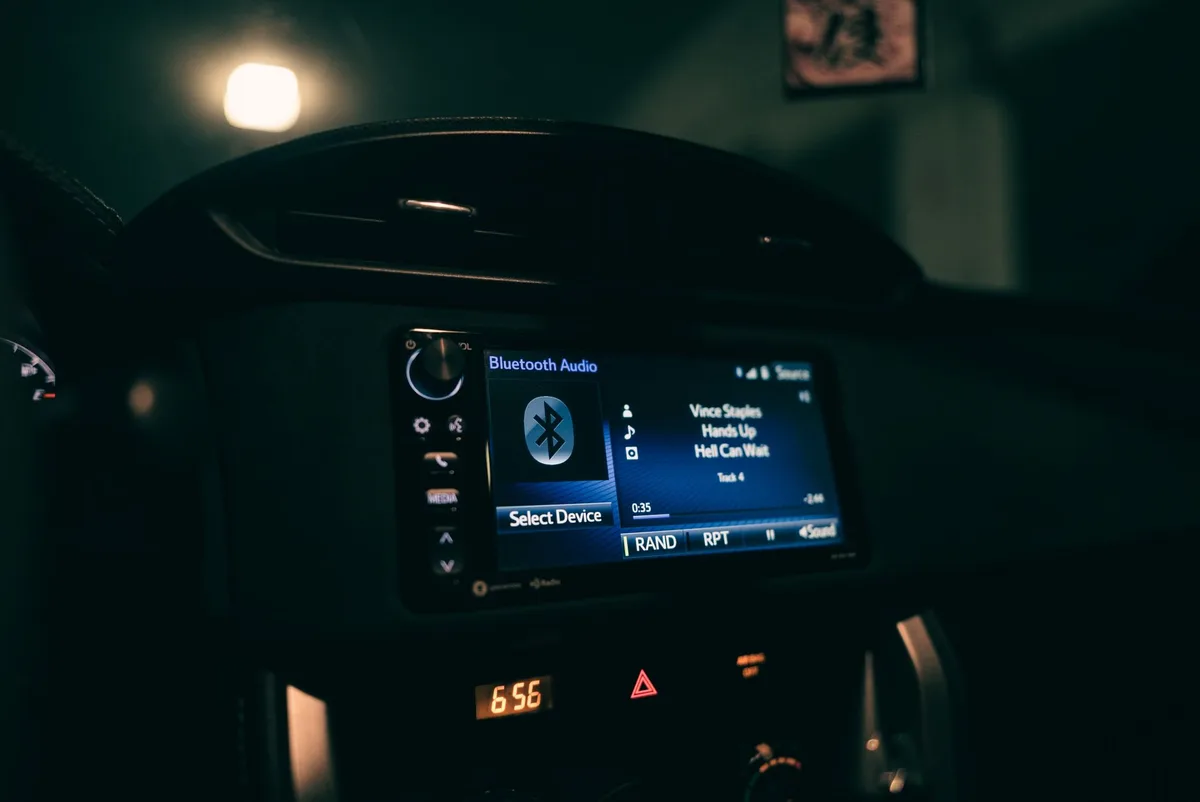
Once your JLab earbuds are awake and broadcasting their signal, the next step is to make your phone, tablet, or laptop aware of them. This involves navigating your device's Bluetooth settings to initiate the scan and establish the link.
Opening Your Device's Bluetooth Settings
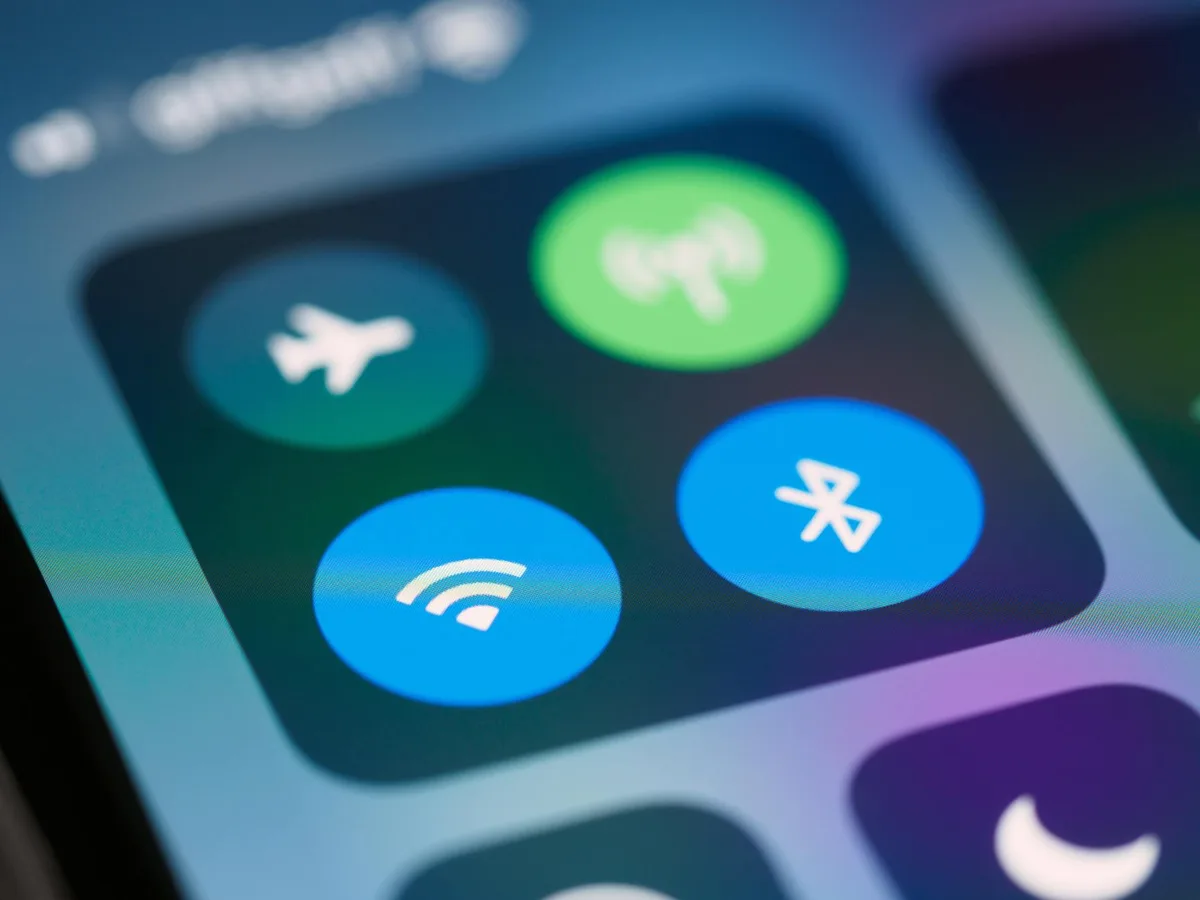
First things first, you need to head to your device’s settings menu. On most smartphones and tablets, you can find this by tapping the gear icon. Scroll down until you see the "Bluetooth" option.
Make sure the Bluetooth toggle switch is turned on. If it’s off, your device won't be able to see any nearby wireless devices. You'll typically see a list of devices that are already paired with your device appear below the toggle.
Finding and Selecting Your JLab Earbuds
With Bluetooth enabled on your device, it will start scanning for available wireless signals. On most platforms, this happens automatically every few seconds. You should soon see a list populate with nearby devices that are in discoverable mode. Look for the name of your JLab earbuds in this list.
It's usually something straightforward like "JLab Go Air Pop," "JLab Epic Air ANC," or a similar model designation.
Confirming the Bluetooth Connection
Once you spot your JLab earbuds in the list of available devices on your screen, simply tap on their name. Your device will then attempt to establish a connection. You might see a prompt appear asking you to confirm the pairing request. Tap "Pair" or "Connect" to accept.
After a few moments, you should hear a confirmation sound in your earbuds, and your device’s Bluetooth menu will update to show your JLab earbuds as "Connected."
When Pairing Goes Sideways: Troubleshooting Common Issues
It's great when pairing happens without a hitch, but let's be real, technology doesn't always cooperate perfectly. If your JLab earbuds aren't connecting as expected, don't worry. Most issues can be fixed with a few common troubleshooting steps.
Earbuds Not Showing Up: What to Do
If your device isn't listing your JLab earbuds under available Bluetooth devices, the most likely culprit is that they aren't actually in pairing mode. Double-check the steps in the "Activating Pairing Mode for Your JLab Model" section. Remember, it often requires a specific button press for a set duration to put them into that discoverable state. Also, ensure your earbuds have enough battery charge; low power can sometimes prevent them from broadcasting correctly.
Connection Won't Complete: Addressing Failed Pairings
Sometimes, your device sees the earbuds, but the connection fails to finalize. In our research, a frequent cause is a conflict with a previous pairing. If your earbuds were previously connected to another device (like a different phone or a tablet), they might be trying to reconnect to that old source. To resolve this, you'll need to "forget" the earbuds from that old device's Bluetooth list, or proceed to the next step to clear the earbuds' memory.
Forgetting and Re-Pairing JLab Earbuds
This is often the magic bullet for many connection woes. On your smartphone, tablet, or computer, go back into your Bluetooth settings. Find your JLab earbuds in the list of "Paired Devices." There should be an option next to the device name to "Forget," "Unpair," or "Remove" the device. Tap that.
This completely clears the connection history between your device and the earbuds. Now, power cycle your earbuds (put them in the case for a few seconds, then take them out) and repeat the entire pairing process from scratch, as if they were brand new.
Advanced Pairing: Connecting to Multiple Devices
Many of JLab's newer earbud models offer a feature called multi-point pairing. This is incredibly convenient if you use, say, your phone for calls and your laptop for music or video conferencing. It allows the earbuds to maintain active connections with two source devices simultaneously.
Understanding Multi-Point Pairing with JLab
Manufacturer specifications confirm that multi-point pairing typically works by connecting your earbuds to the first device as usual. Then, instead of turning Bluetooth off on the first device, you put the earbuds back into pairing mode (this usually requires a longer press on the touch sensor or button, often 10-15 seconds, until you hear a different confirmation sound indicating it's ready for a second device). Once in this secondary pairing mode, you then find and connect to your second device through its Bluetooth settings. When a call comes in on your phone while listening to audio on your laptop, the earbuds will automatically switch audio sources.
Keep in mind that some models may have slightly different procedures or limitations on simultaneous audio playback quality.
Essential JLab Earbud Pairing Tips
Getting JLab earbuds connected isn't complicated, but a few key habits can save you a lot of head-scratching. Think of these as best practices to ensure a smooth experience every time.
Mistakes to Avoid During Pairing
The most common mistake is not confirming that the earbuds are actually in pairing mode. Users often try to connect before the earbuds are discoverable, leading to frustration. Another frequent error is attempting to pair with a device that doesn't have Bluetooth enabled or is too far away. Also, be patient; sometimes, devices take a moment to recognize each other, especially if you've just reset the earbuds' pairing memory.
What to Do If You Have an Older JLab Model
While newer models often feature enhanced Bluetooth connectivity and auto-pairing functions, older JLab earbuds might have slightly different pairing sequences. For instance, older models might require a more deliberate press-and-hold on a physical button rather than a touch sensor. Always refer to the specific user manual that came with your JLab product for the most accurate pairing instructions pertinent to its model year. You can usually find these manuals archived on the JLab official website for reference.
Authoritative Resources for JLab Connections
For the most precise and up-to-date information on pairing your specific JLab earbud model, the official JLab support pages are your best resource. They often contain detailed FAQs, troubleshooting guides, and downloadable PDF manuals for every product they've released. You can also check if specific Bluetooth standards, like Bluetooth 5.2, which offers improved efficiency and range, are highlighted for your model to understand its technical capabilities better.