How Can I Make A Power Bank: Easy DIY Guide
Build a safe power bank using lithium cells, a charge module, protection PCB, and a sturdy case.
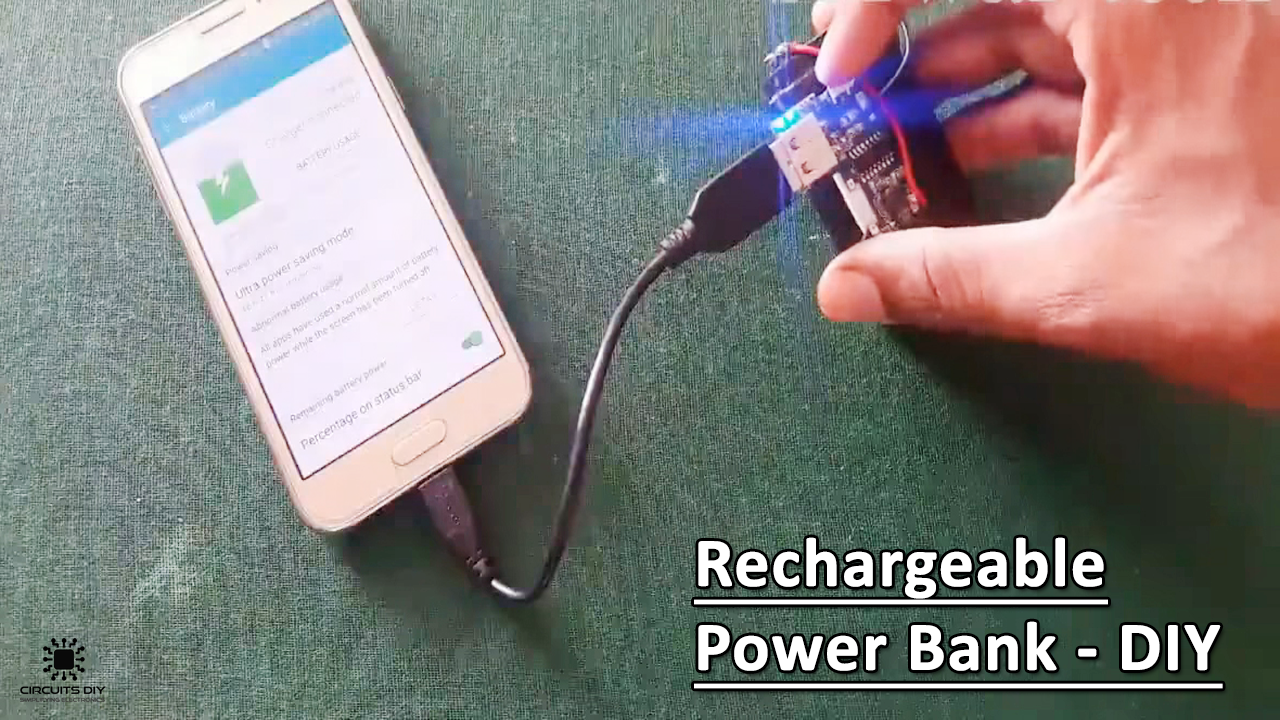
I have built and tested several DIY power banks and will walk you through how can i make a power bank step by step. You will learn the components to buy, safe assembly practices, capacity math, and real-world tips I learned from hands-on builds. This guide focuses on clear, practical instructions so you can make an efficient, safe power bank and avoid common mistakes.
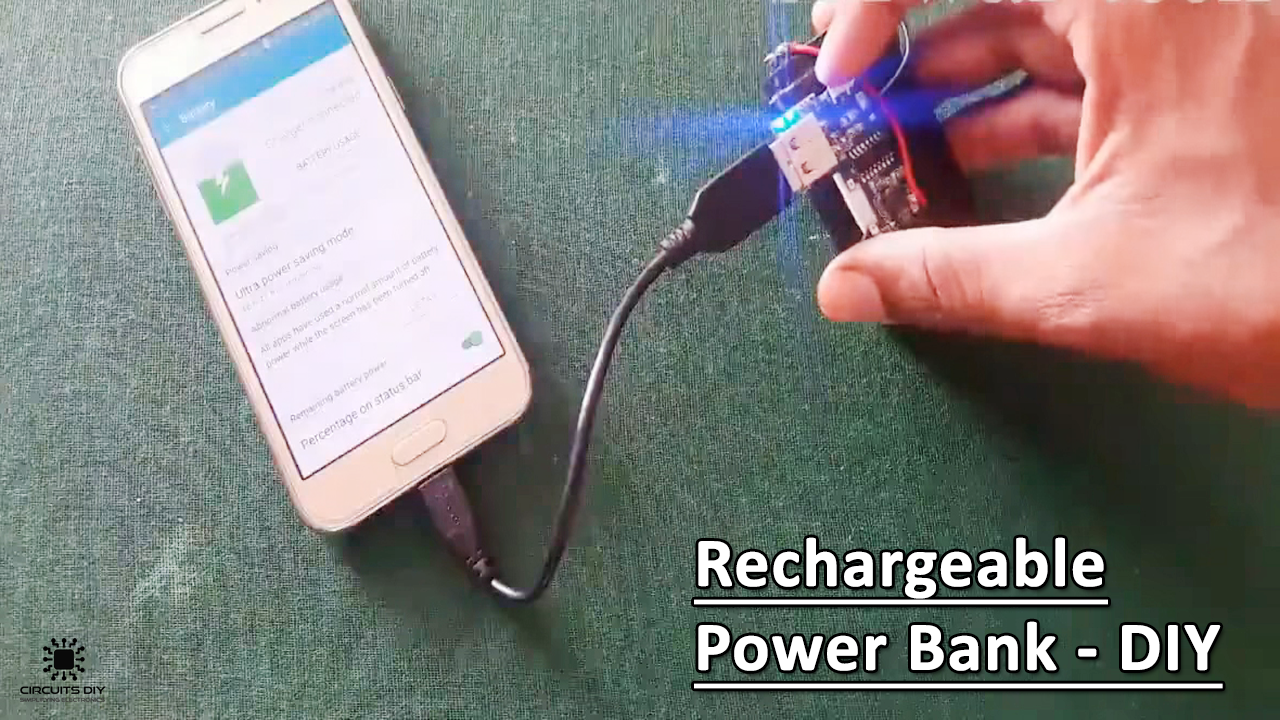
What is a power bank and how it works
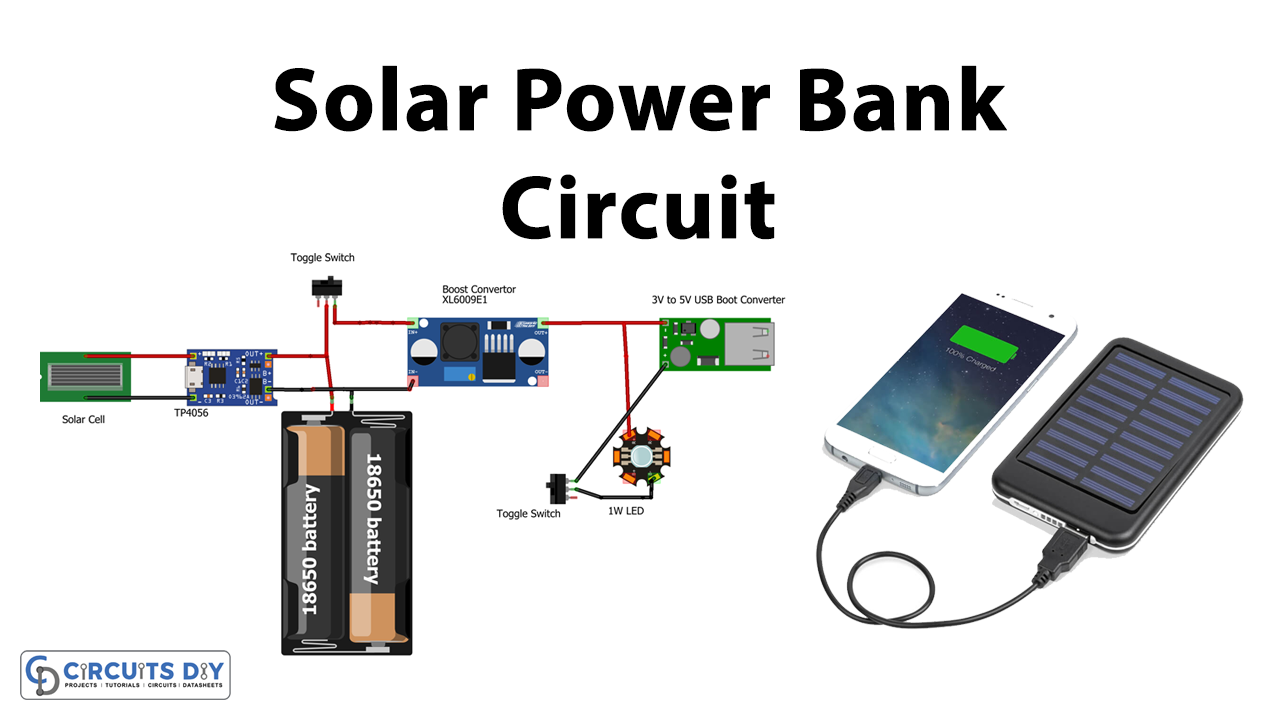
A power bank is a portable battery pack that stores electrical energy for charging phones and small devices. Most modern power banks use lithium-ion or lithium-polymer cells, a charging circuit, a boost converter, and a protection PCB. Understanding how can i make a power bank starts with knowing these parts and how they interact.
- Lithium cells store the energy.
- Charge module manages input charging safely.
- Protection PCB prevents overcharge, over-discharge, and short circuits.
- Boost converter raises the cell voltage to 5V USB output.

Materials and tools you will need
Gather reliable parts before you start. Using quality components reduces risk and improves performance when you make a power bank.
- Cells: 18650 lithium-ion or LiPo cells, matched by capacity and brand.
- Protection PCB: battery protection circuit for your cell configuration.
- Charging module: TP4056 for single-cell or a multi-cell charger for packs.
- Boost converter: 5V boost module with 1–3A output (e.g., MT3608 or similar).
- Wires: silicone-insulated flexible wires (18–24 AWG).
- Switch, LED indicator, and USB A/Type-C port modules.
- Enclosure: plastic or metal case with ventilation and insulation.
- Tools: soldering iron, multimeter, spot welder or battery holder, heat shrink, insulating tape, and safety gear.
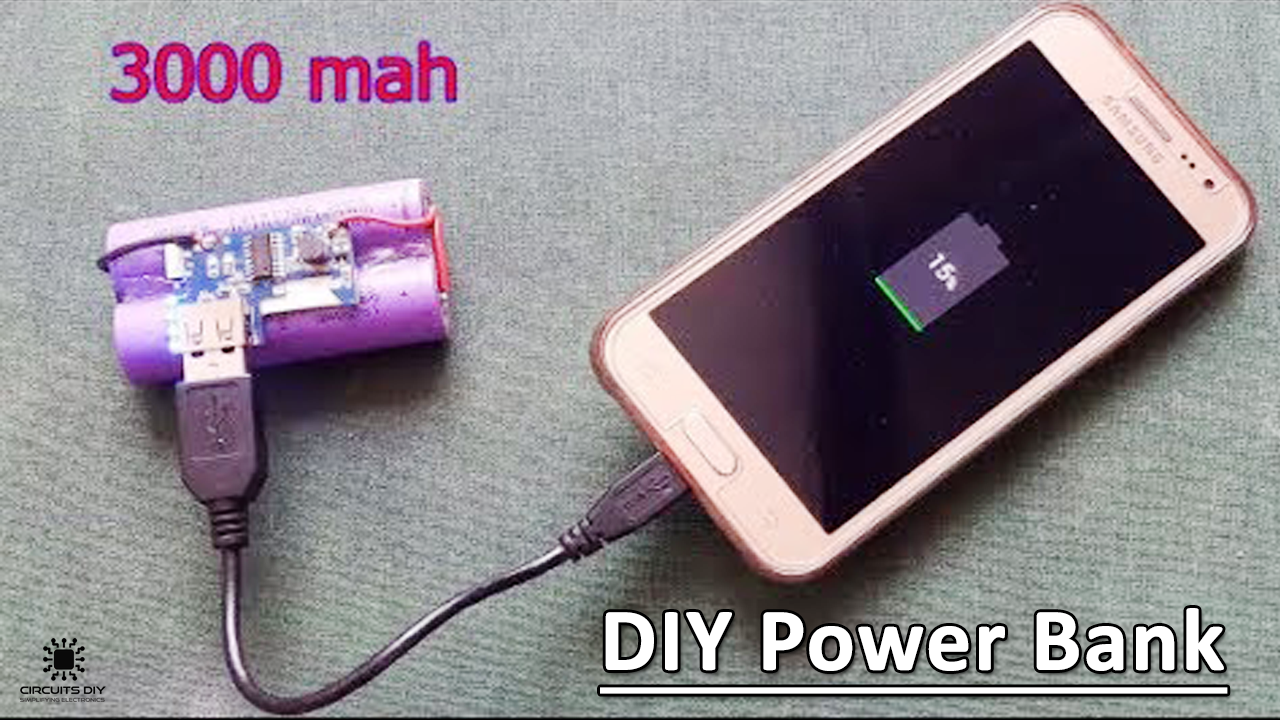
Choosing batteries and calculating capacity
Pick cells that match your goals for size, weight, and run time. Knowing capacity math is crucial when you decide how can i make a power bank.
- Cell capacity: listed in mAh. Two 3000 mAh 18650 cells in parallel give 6000 mAh at nominal 3.7V.
- Watt-hour (Wh) method is more accurate: Wh = (mAh/1000) × nominal voltage.
- Convert to USB output: usable Wh × converter efficiency (typically 85–95%) ÷ 5V = usable mAh at 5V.
- Example: two 3000 mAh 18650 in parallel → 6000 mAh at 3.7V = 22.2 Wh. At 90% efficiency → 22.2 × 0.9 ÷ 5 = about 3996 mAh usable at 5V.
When you search how can i make a power bank, you must choose cells and size that match your charging needs and weight preferences.
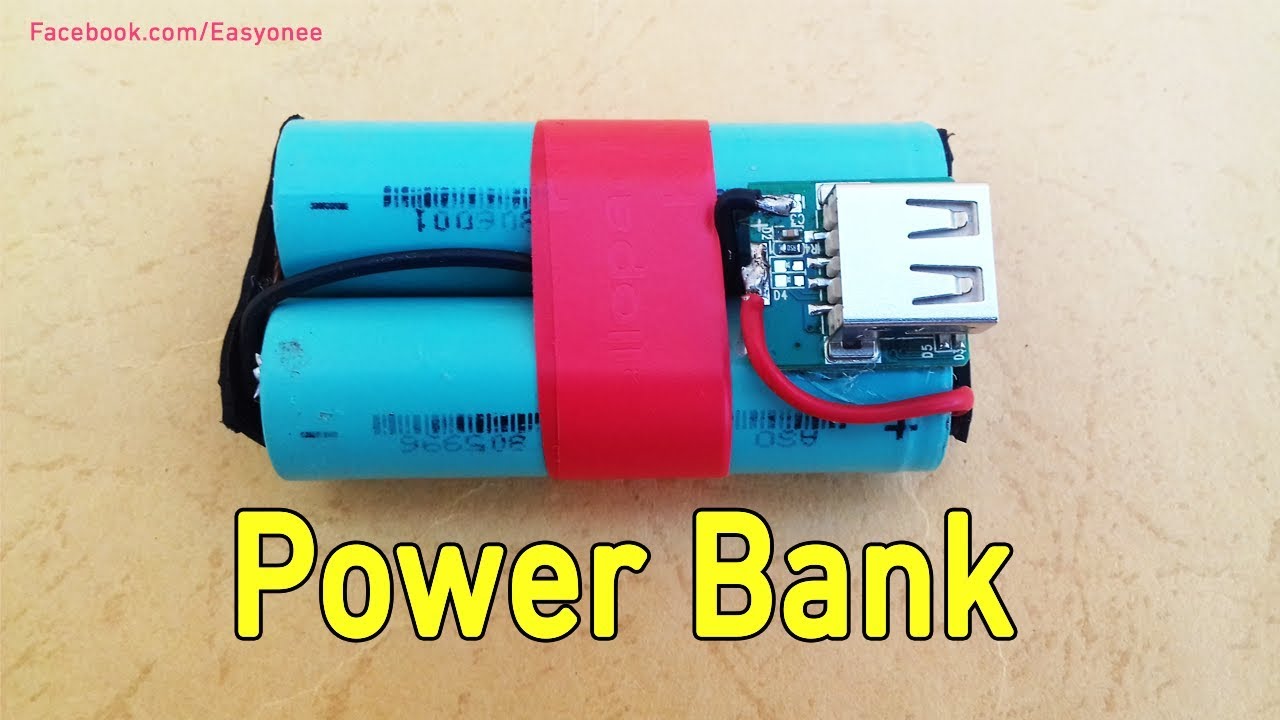
Protection and charging circuitry explained
Good electronics keep you and your battery safe. These are the key circuits when you make a power bank.
- Protection PCB: prevents overcharge, over-discharge, overcurrent, and short circuits. It must match the cell count and arrangement.
- Charging module: controls input charging current and termination. For single-cell builds, TP4056 modules are common; multi-cell builds need balance chargers.
- Boost converter: steps 3.2–4.2V cell voltage up to stable 5V USB output. Choose a module with good thermal design.
- LEDs and indicators: show charge state and output status.
Always match the protection PCB and charger to the battery configuration you plan to use when you decide how can i make a power bank.
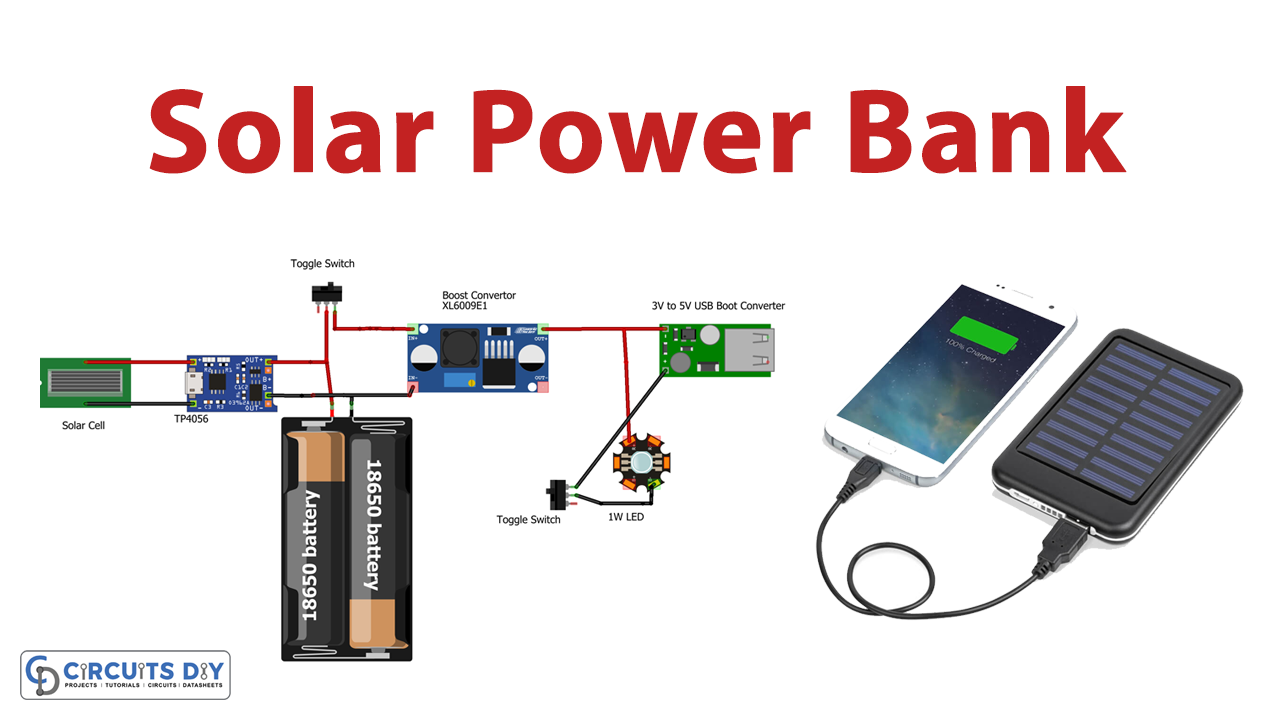
Step-by-step: how can i make a power bank (single-cell 18650 example)
This step-by-step example shows a simple, common build. Follow safety steps and double-check connections.
Prepare the 18650 cell
- Inspect the cell for damage. Use only cells with intact wrappers and known history.
- Measure voltage with a multimeter; do not use cells below safe voltage (typically below 2.5–2.8V is unsafe).
Wire the protection PCB and charging module
- Solder wires to the protection PCB B+ and B- pads for the cell.
- Connect the charge module input to the protection module’s BAT and GND as instructed for your parts.
- Ensure correct polarity for every connection.
Connect the boost converter
- Connect the boost module input to the protection PCB output (P+ and P-).
- Test the boost output with no load to confirm stable 5V.
Add switch and USB port
- Install a switch on the boost output if desired.
- Mount the USB port securely and wire the 5V and GND to the boost module output.
Enclose and secure
- Place all parts inside the case. Use hot glue or mounts to prevent movement.
- Add heat shrink and insulation to exposed solder joints.
First charge and test
- Charge the pack fully while monitoring temperature and behavior.
- Test output with a known load like a phone or USB load tester.
When people ask how can i make a power bank, this step-by-step path is the safest entry point.

Multi-cell packs and balance charging
For higher capacity or voltage, you will use multiple cells arranged in series and/or parallel. These builds require more attention.
- Parallel cells increase capacity; series cells increase voltage.
- Multi-cell series packs require a balance charger and a BMS that supports the cell count.
- Use matched cells from the same manufacturer and cycle them together to balance capacity.
- Spot welding is preferred for cell-to-tab connections to avoid heat stress from soldering.
If your plan asks how can i make a power bank with several cells, invest in a good balance charger and a quality BMS.

Safety, legal, and shipping considerations
Safety comes first. Mishandling lithium cells can cause fire, burns, or property damage. Follow rules when you make a power bank.
- Use certified cells from reputable manufacturers.
- Never short cells or connect with incorrect polarity.
- Avoid soldering directly to cells without proper technique or cooling.
- Know local laws for battery packs and shipping—commercial sale often requires certification.
I once overheated a cell by holding the solder iron too long, which taught me to use spot welds or proper jigs. Learn from that: prioritize safety and patience.
Testing, troubleshooting, and maintenance
Test thoroughly before regular use. A methodical approach helps you find and fix issues when you build a power bank.
- Test open-circuit voltages and loaded voltages with a multimeter.
- Use an electronic load or phone to test real charging behavior.
- Check for excessive heat during charging or discharging.
- If output is low, verify boost converter settings and connections.
- Replace cells if capacity drops below safe practical limits or if internal resistance rises.
When thinking how can i make a power bank, build testing time into the plan. I save time later by testing carefully up front.
Common mistakes, tips, and personal experience
Avoid small errors that cause big problems. These tips reflect my experience building several packs.
- Mistake: using mismatched cells. Tip: buy cells in the same batch and label them.
- Mistake: skipping a protection PCB. Tip: never omit protection for lithium cells.
- Mistake: tight packing without ventilation. Tip: allow space and use thermal pads if needed.
- Personal tip: assemble once on a breadboard and test modules before final enclosure.
- Practical habit: keep a fireproof bag when charging or testing new packs.
These real-world tips will make your how can i make a power bank project smoother and safer.
PAA-style quick questions
Q: How long does it take to make a power bank?
A: A basic single-cell power bank can take 1–3 hours if parts are ready. Complex packs take longer due to balance charging and testing.
Q: Is it cheaper to build or buy a power bank?
A: Building can be cheaper per Wh if you already have tools and skills, but time, safety gear, and quality parts can reduce cost advantage.
Q: Can I use old laptop cells?
A: Yes, but test each cell individually for capacity and internal resistance; many laptop cells are aged and need matching.
Frequently Asked Questions of how can i make a power bank(make it h2 tag)
What is the safest battery type for a DIY power bank?
Lithium-ion and lithium-polymer are common. Use high-quality cells and a proper protection circuit for safety.
Do I need a protection PCB if I only use one cell?
Yes. A protection PCB prevents over-discharge, overcharge, and short circuits even for single-cell builds.
How do I calculate the usable capacity of my power bank?
Convert cell mAh to Wh, adjust for boost converter efficiency, then convert back to 5V mAh to get usable capacity.
Can I solder wires directly to 18650 cells?
Direct soldering is risky due to heat damage. Use spot welding or solder quickly with a heat sink technique if you must.
Is it legal to sell homemade power banks?
Selling often requires safety certifications and compliance with local regulations; check rules before commercializing DIY packs.
Conclusion
Making a power bank is a rewarding mix of electronics, safety discipline, and practical problem solving. You now know how can i make a power bank: select quality cells, use proper protection and charging circuits, follow step-by-step assembly, and test thoroughly. Start with a simple single-cell build, practice safe techniques, and scale up only when you are confident. If you found this guide helpful, try a small project, share your results, or subscribe for more hands-on guides and tips.