How to Connect Skull Candy Ear Buds in 2026 (Expert Picks)
Getting your Skullcandy earbuds connected to your device can sometimes feel like a puzzle, but it doesn't have to be. Knowing how to connect Skullcandy ear buds is key to enjoying your music, podcasts, or calls wirelessly. We've broken down the process step-by-step, so you can get back to what matters.
Manufacturer specifications often detail Bluetooth connectivity standards, such as Bluetooth 5.0 or later, ensuring efficient power use and stable connections. This guide will walk you through common scenarios and troubleshooting tips to ensure a smooth pairing experience.
Charge Up Your Skullcandy Earbuds First
This is the most frequent reason people run into pairing issues. Before you even think about connecting, make sure your earbuds have enough juice. If the charging case or the earbuds themselves aren't showing a charge, plug them in. Many charging cases have LED indicators that show battery status; check your manual for what the lights mean on your specific model.
If your earbuds are dead, they won't power on or enter pairing mode, no matter what you do. Aim for at least a 30-minute charge if you're unsure, or until the indicator lights signal a full charge.
Powering Your Skullcandy Earbuds On and Into Pairing Mode
This is where the magic happens, telling your earbuds to look for a device to connect to. The exact process can vary slightly between Skullcandy models, but the general idea is the same.
What Pairing Mode Looks Like
For many true wireless Skullcandy models, simply removing the earbuds from their charging case automatically powers them on and puts them into pairing mode. You'll often hear a distinct chime or a voice prompt like "Pairing," and an LED light on the earbud itself might flash rapidly, usually in blue or white. This flashing light is your visual cue that they're ready to be discovered by another device.
Manually Triggering Pairing Mode
If your earbuds don't automatically enter pairing mode when you take them out, or if they've previously paired with another device and won't connect to a new one, you'll need to initiate pairing manually. This typically involves pressing and holding a button.
- Locate the Button: On many models, this button is on the back of the charging case, or it might be a small touch-sensitive area or physical button directly on one of the earbuds. Your user manual is the definitive guide here.
- Press and Hold: Once you've found it, press and hold the button for approximately 3 to 5 seconds. You're looking for that same audio cue ("Pairing") or the indicator lights to start flashing in the pairing sequence. This action tells the earbuds to forget their previous connections and become discoverable by a new Bluetooth device.
Connecting to Your Phone, Tablet, or Computer
With your Skullcandy earbuds now in pairing mode, it's time to get your phone, tablet, or computer to see them. This step is all about enabling Bluetooth on your device and selecting your earbuds from the list of available connections.
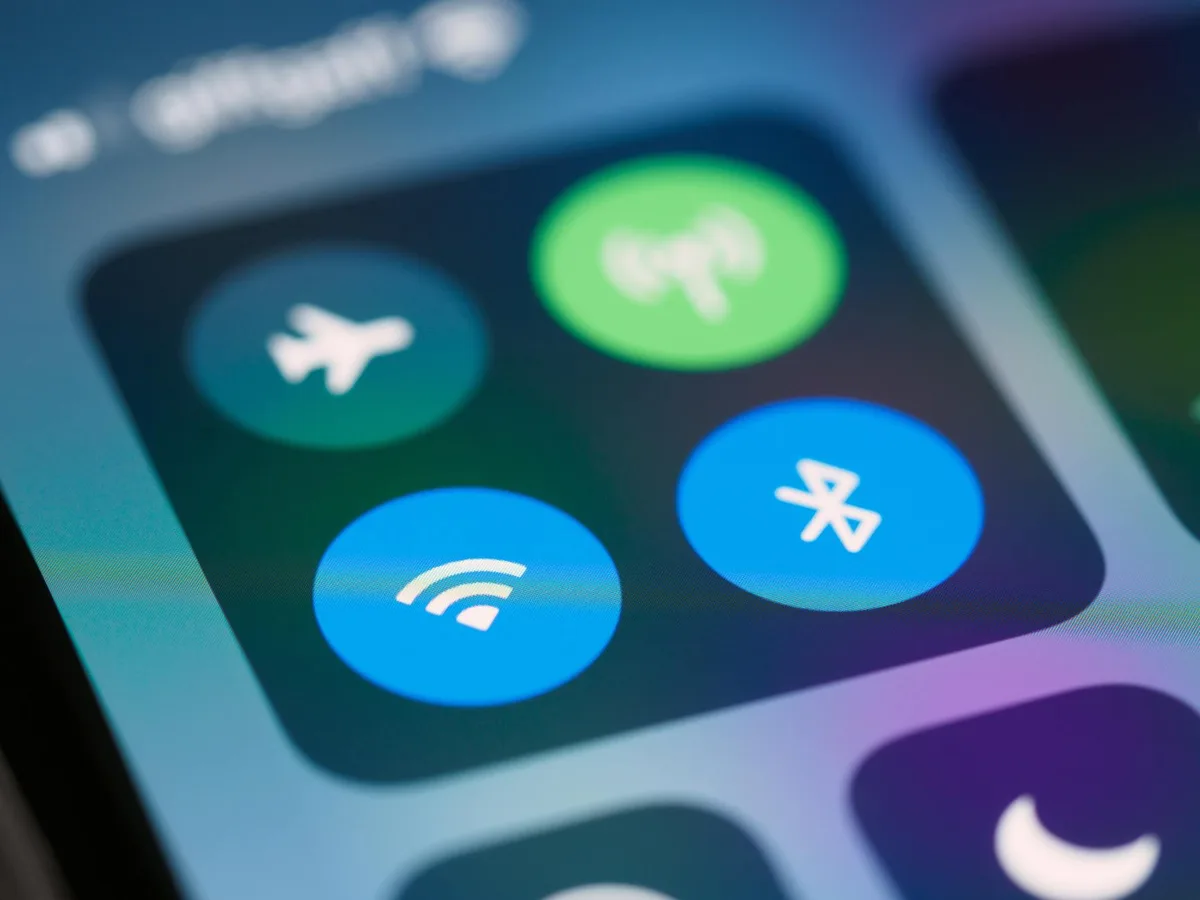
Enable Bluetooth on Your Device:
- On iOS: Go to
Settings>Bluetooth. Make sure the toggle switch is turned toOn(green). - On Android: Go to
Settings>Connected devices(orConnections) >Bluetooth. Ensure the toggle isOn. - On Windows: Click the
Startbutton, go toSettings>Devices>Bluetooth & other devices. Make sure the Bluetooth toggle isOn. - On macOS: Go to
System Settings(orSystem Preferences) >Bluetooth. Make sure Bluetooth is turnedOn.
- On iOS: Go to
Scan for Devices: Your device will automatically start scanning for nearby Bluetooth devices once Bluetooth is enabled. If it doesn't, look for a "Scan," "Search," or "Refresh" button.
Select Your Skullcandy Earbuds: In the list of available devices, you should see your Skullcandy earbuds appear. The name will usually be something like "Skullcandy Dime," "Skullcandy Indy Evo," or similar, depending on your model. Tap or click on the name to initiate the connection process.
Confirm Connection: Your device will attempt to pair. You might hear a confirmation sound in your earbuds, or your device will update to show "Connected" next to the earbuds' name. If prompted for a PIN, try
0000or1234, though this is uncommon for modern earbuds.
What to Do When They Don't Appear
If you've followed the steps and your Skullcandy earbuds aren't showing up in the Bluetooth list, don't panic. There are a few common reasons this happens.
- Are they in pairing mode? Double-check that the indicator lights are flashing as expected. If not, try the manual pairing steps again.
- Are they too far away? For the initial pairing, keep your earbuds very close to your device, ideally within a foot or two.
- Is Bluetooth on your device truly on? Sometimes toggling your device's Bluetooth off and then back on can resolve a glitch.
- Has another device claimed them? If your earbuds were previously paired to another phone or computer, they might be trying to auto-reconnect to that old device. You'll need to disconnect them from the old device first, or use the "Forget Device" option (covered next).
What If You've Paired Them Before? Forgetting and Re-Pairing
Sometimes, a previously paired device can cause connection headaches. If your Skullcandy earbuds won't connect to your device even though they've worked before, the best solution is often to "forget" the device and re-pair them from scratch. This clears any corrupted data or lingering connection issues.
Here's how to do it on common platforms:
- On iOS: Go to
Settings>Bluetooth. Find your Skullcandy earbuds in the list under "My Devices." Tap the "i" icon next to their name, then selectForget This Device. Confirm your choice. - On Android: Go to
Settings>Connected devices>Bluetooth. Find your Skullcandy earbuds in the list, tap the gear icon or menu next to them, and selectForgetorUnpair. - On Windows: Go to
Settings>Devices>Bluetooth & other devices. Click on your Skullcandy earbuds in the list, then clickRemove device. - On macOS: Go to
System Settings(orSystem Preferences) >Bluetooth. Hover over your Skullcandy earbuds in the list, click the "X" or "i" icon next to them, and selectRemoveorForget Device.
After you've forgotten the device, put your Skullcandy earbuds back into pairing mode and follow the steps in the "Connecting to Your Phone, Tablet, or Computer" section to pair them again. This process resets the connection profile on your device, essentially treating the earbuds as if they were brand new.
Resetting Your Skullcandy Earbuds
If you've tried basic pairing, unpairing, and troubleshooting, and your Skullcandy earbuds still aren't behaving, a factory reset might be the next step. This is like turning the reset switch back to the very beginning, clearing all previous pairing data and settings stored directly on the earbuds themselves.
When to Consider a Reset
A reset is usually a last resort. You should consider it if:
- You're experiencing persistent connectivity issues that unpairing and re-pairing doesn't fix.
- One earbud isn't working or recognized by the other.
- The earbuds are not charging correctly, or the case indicator lights are behaving erratically.
- You're selling or giving the earbuds away and want to ensure all your personal data and previous pairings are wiped.
How to Perform a Reset (Consult Your Manual)
The exact reset procedure is model-specific and can involve pressing buttons on the earbuds, the case, or a combination of both, often for an extended period. It's crucial to check your specific Skullcandy earbud model's user manual for the precise instructions to avoid damaging the device.
A common reset method involves placing both earbuds back into the charging case. With the case lid open, you might then need to press and hold a button on the charging case for anywhere from 10 to 20 seconds. You're looking for a specific sequence of light flashes or an audio confirmation that indicates the reset is complete.
After a successful reset, your earbuds will be in their factory default state. This means you'll need to go through the entire pairing process again as if they were brand new, starting from powering them on and entering pairing mode.
Common Skullcandy Earbud Connection Problems and Solutions
Sometimes, even after following the steps, your Skullcandy earbuds might not behave as expected. Our research indicates that most connection issues boil down to a few common culprits. Understanding these can save you a lot of frustration.
Bluetooth Interference Woes
Bluetooth operates on a 2.4 GHz frequency band, which is also used by many other devices like Wi-Fi routers, microwaves, and even some cordless phones. If you're trying to connect your earbuds in an area crowded with these signals, you might experience dropped connections or a degraded audio experience.
- What to do: Try moving to a less crowded area with fewer competing wireless devices. If you’re at home, temporarily turning off your Wi-Fi or moving further away from your router can help diagnose if interference is the problem.
Connection Drops: What's Happening?
Connection drops can be unnerving, especially when you're in the middle of a call or your favorite song. This usually means the Bluetooth signal between your earbuds and your device is being interrupted or is too weak to maintain a stable link.
- Distance is key: Bluetooth has a limited range, typically around 30 feet (10 meters) in open space, but this can be significantly reduced by obstacles like walls or even your own body. Ensure your device stays relatively close to your earbuds.
- Software glitches: Occasionally, the Bluetooth software on your phone or computer can hiccup. A simple restart of your device can often clear temporary software conflicts that cause drops.
Earbuds Not Turning On: The Usual Suspects
If your Skullcandy earbuds are completely unresponsive and won't turn on, the issue is almost always power-related. They might appear dead if they haven't been charged adequately.
- Check the charge: As covered earlier, ensure both the earbuds and their charging case have sufficient battery life. Sometimes, even if the case has charge, the earbuds themselves might need direct charging if they've been sitting for a while.
- Clean the contacts: Inspect the charging contacts on both the earbuds and inside the charging case. Dirt, lint, or debris can prevent a proper connection, meaning the earbuds won't charge even when placed in the case. Gently clean these contacts with a dry cotton swab.
Tips for Seamless Skullcandy Earbud Connectivity
Achieving a smooth, reliable connection with your Skullcandy earbuds often comes down to a few best practices. These aren't complex, but they make a significant difference in your day-to-day experience.
- Update your device's firmware: For phones, tablets, and computers, keeping the operating system and Bluetooth drivers up-to-date can resolve compatibility issues that might affect earbuds. Updates often include performance improvements and bug fixes.
- Manage paired devices: Most devices can store a large number of paired Bluetooth devices, but performance can degrade if the list becomes excessively long. Periodically "forgetting" devices you no longer use can help.
- Use the official app (if available): Some Skullcandy models come with a companion app that allows for firmware updates, EQ adjustments, and sometimes even provides specific troubleshooting for that model. Check if your earbuds have an app and consider installing it.
When to Consult Your Skullcandy Manual
Your Skullcandy earbuds came with a user manual for a reason. While this guide aims to cover the most common scenarios, your specific model might have unique features or pairing quirks that are detailed best in its official documentation.
- Model variations: Skullcandy offers many earbud lines, from basic models to more advanced ones with features like active noise cancellation or specialized touch controls. The button placement, indicator light meanings, and reset procedures can vary.
- Warranty information: The manual also contains important information about your product's warranty, what's covered, and how to make a claim if you encounter a hardware defect that can't be resolved through troubleshooting. Always refer to it for definitive instructions on your specific model.