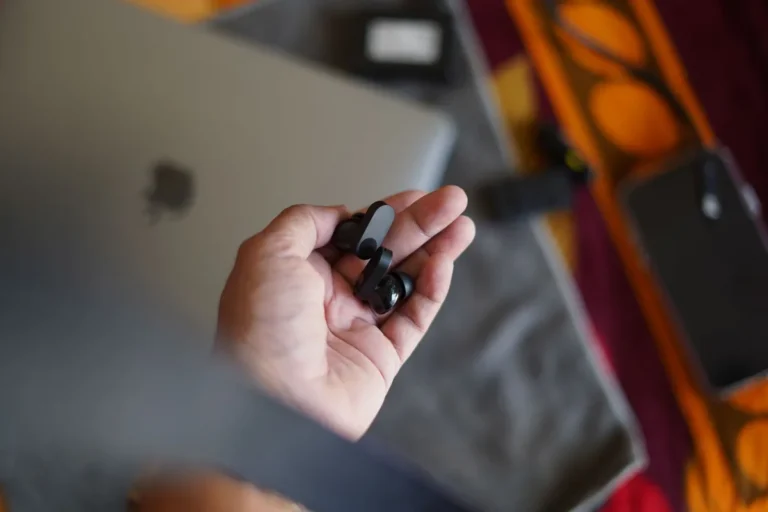
How to Clean Ear Buds 2026
When your favorite earbuds start sounding a bit muffled, or the volume just isn't what it used to be, the first thing most people think is "these are broken, time for new ones." But before you go spending money, there's a good chance a simple cleaning is all they need. Knowing how to clean ear buds properly can save your wallet and bring back that crisp audio quality you love.
In our research, we found that most earbud manufacturers recommend cleaning their products regularly, especially noting that many earbuds are designed with a specific Ingress Protection (IP) rating, often around IPX4 or higher, which signifies resistance to splashes. This doesn't mean they're waterproof, though. Over time, earwax, dust, and general grime build up on those tiny speaker grilles and ear tips, acting like a stubborn filter.
Why Earbud Cleaning Matters (More Than You Think)
It might seem like a small thing, but regularly cleaning your earbuds is genuinely important for a few key reasons. First off, there's sound quality. Earwax and grime can physically block the tiny speaker grilles, making your music sound muted, bass-heavy but lacking clarity, or simply quieter. Aggregate user reviews confirm this; many people report a dramatic improvement in audio fidelity after a good clean.
Beyond just the sound, hygiene is a huge factor. Your earbuds are constantly in contact with your ear canals, which naturally produce earwax and can harbor bacteria. If not cleaned, this buildup can become a breeding ground for germs. This is particularly true for in-ear earbuds that create a seal.
For athletic users or anyone in humid environments, this becomes even more of a concern.
Finally, proper maintenance can actually extend the lifespan of your earbuds. Preventing clogs and buildup means the delicate speaker components don't have to work as hard, and you avoid potential damage from trapped moisture or debris. Manufacturer specifications often highlight that neglecting basic care can lead to premature failure of the drivers or charging contacts.
Your Earbuds: What's Making Them Sound Dull?
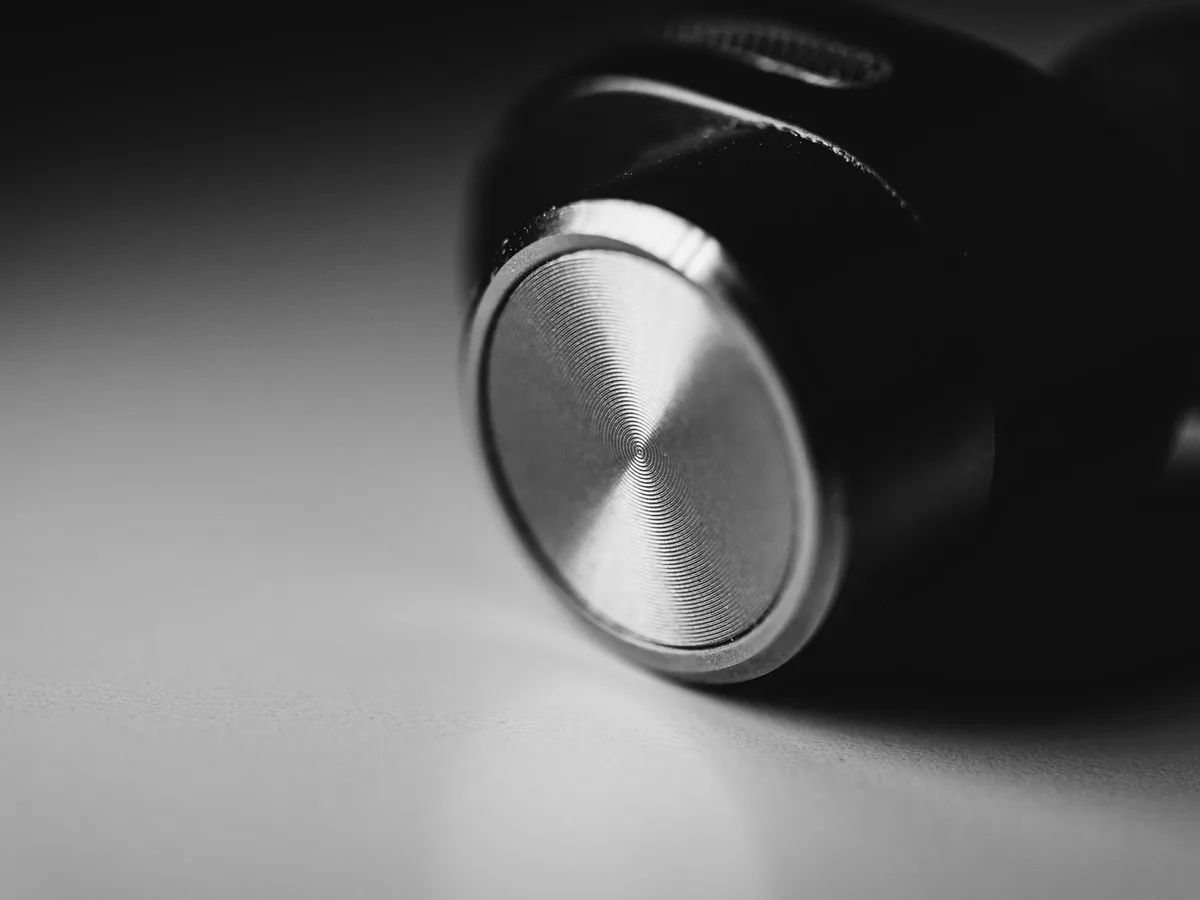
So, what exactly is it that makes your earbuds sound less than stellar? It's usually a combination of a few common culprits. The main offender is compacted earwax. This waxy, yellowish substance is a natural secretion, and it inevitably gets deposited onto your earbuds, especially the silicone ear tips and the protective mesh over the speaker.
Another major contributor is dirt and debris. Think about everywhere you take your earbuds: pockets, bags, gym lockers, or just the general environment. Tiny particles of dust, lint from clothing, or even small bits of fluff can get stuck on the surfaces and in the nooks and crannies. This debris can mix with earwax and oils to create a sticky, stubborn layer.
For wireless earbuds, the charging case itself can also be a problem. The charging contacts inside the case, and on the earbuds themselves, can accumulate grime or corrosion. This prevents a solid connection, meaning your earbuds might not charge properly or at all, or the charging case might not register they're docked. Poor charging leads to a dead earbud, which definitely impacts listening.
Choosing Your Cleaning Path: The Decision Tree
Cleaning your earbuds isn't a one-size-fits-all situation. The best approach depends on your specific earbuds and the type of mess they've gotten into. We've broken it down into a simple decision tree to help you figure out the right method.
Step 1: What Kind of Earbuds Do You Have?
First, let's identify your earbud type. This dictates some of the cleaning limitations.
- Wireless (True Wireless) vs. Wired: True wireless earbuds often have more delicate electronics and charging mechanisms that need careful handling. Wired earbuds might be a bit more robust, but similarly, the speaker grilles and ear tips need attention.
- Over-ear vs. In-ear: This distinction is crucial. Over-ear headphones have larger ear pads that often detach and can be cleaned more thoroughly. For in-ear earbuds, especially those that create a seal in your ear canal, precision is key.
Step 2: How Grimy Are We Talking?
Next, assess the level of buildup. Be honest here; it'll prevent you from over-cleaning or under-cleaning.
- Light Dust & Fingerprints: You can see a bit of dust or smudges on the plastic. Volume is still good, sound is clear.
- Visible Earwax & Debris: There's noticeable gunk on the ear tips or around the speaker grille. Volume might be slightly reduced.
- Sticky Residue / Gummed Up: Everything feels tacky, the grilles are visibly caked, and sound quality is significantly degraded.
Step 3: What Tools Do You Have Handy?
Based on the above, gather your supplies.
- Microfiber Cloths: Essential for wiping down surfaces without scratching.
- Soft Brushes: Think unused makeup brushes or dedicated electronic cleaning brushes. Absolutely no stiff bristles.
- Cotton Swabs: Best used with a bit of modification for precision.
- Specialized Cleaning Kits: These often come with specific solutions designed for electronics.
Gentle Cleaning for the Everyday Grime
If your earbuds have just a light dusting of lint or some fingerprints, you're in luck, this is the easiest scenario. You don't need harsh chemicals or elaborate procedures. The goal here is simply to remove surface-level dirt and oils to keep things looking fresh and sounding clear.
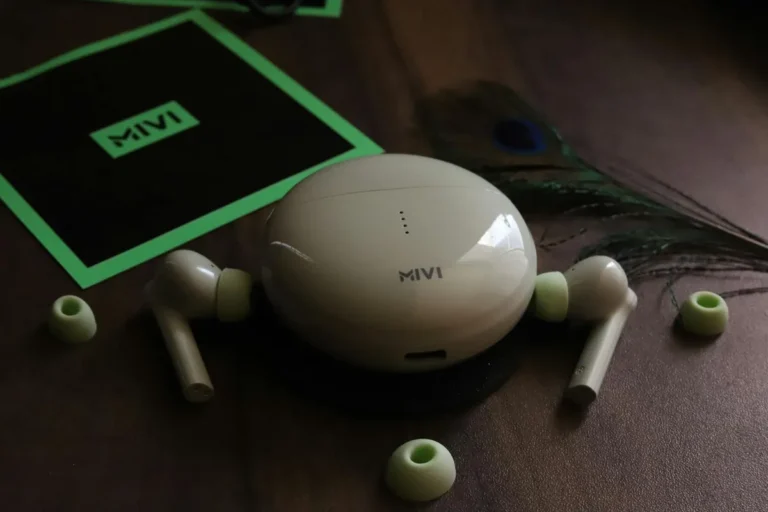
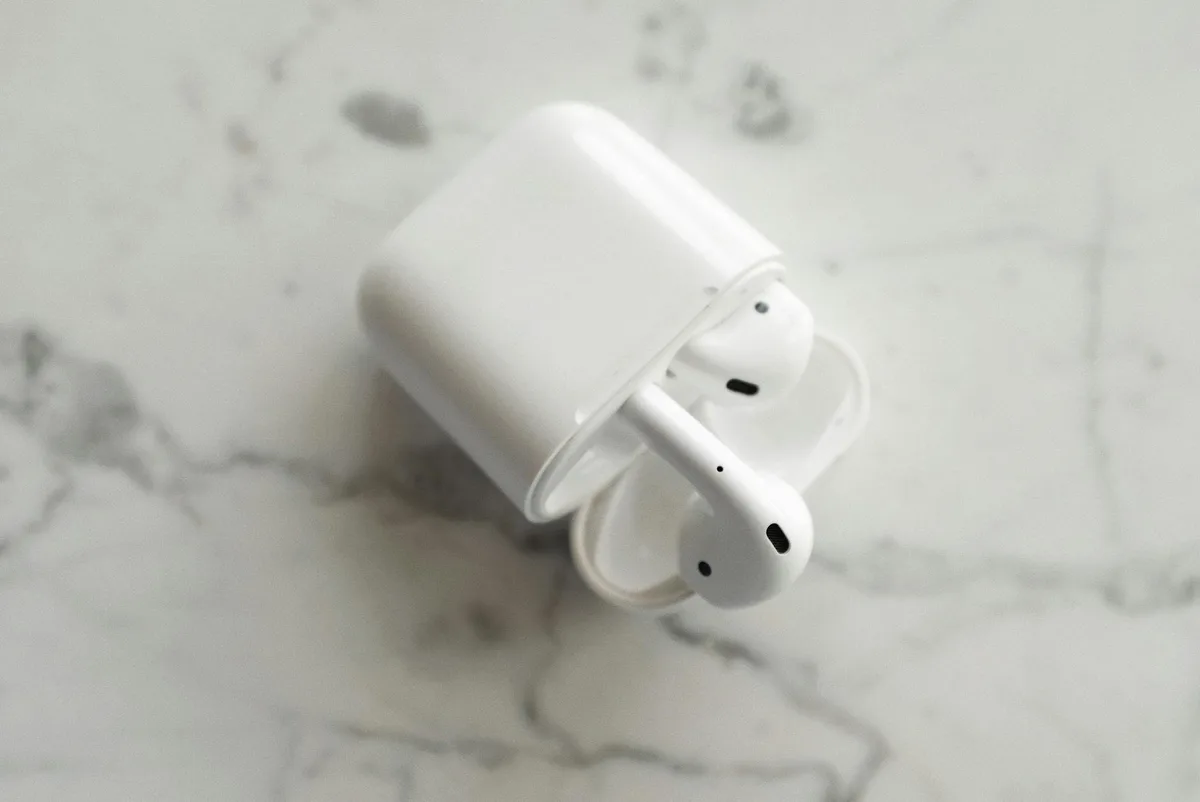
Cleaning Silicone Ear Tips
Start by gently removing the silicone ear tips from your earbuds. Most simply pull off. Inspect them for any obvious debris. You can typically wash these gently with lukewarm water and a tiny bit of mild soap.
Rinse them thoroughly to remove all soap residue, as any leftover soap can irritate your ears.
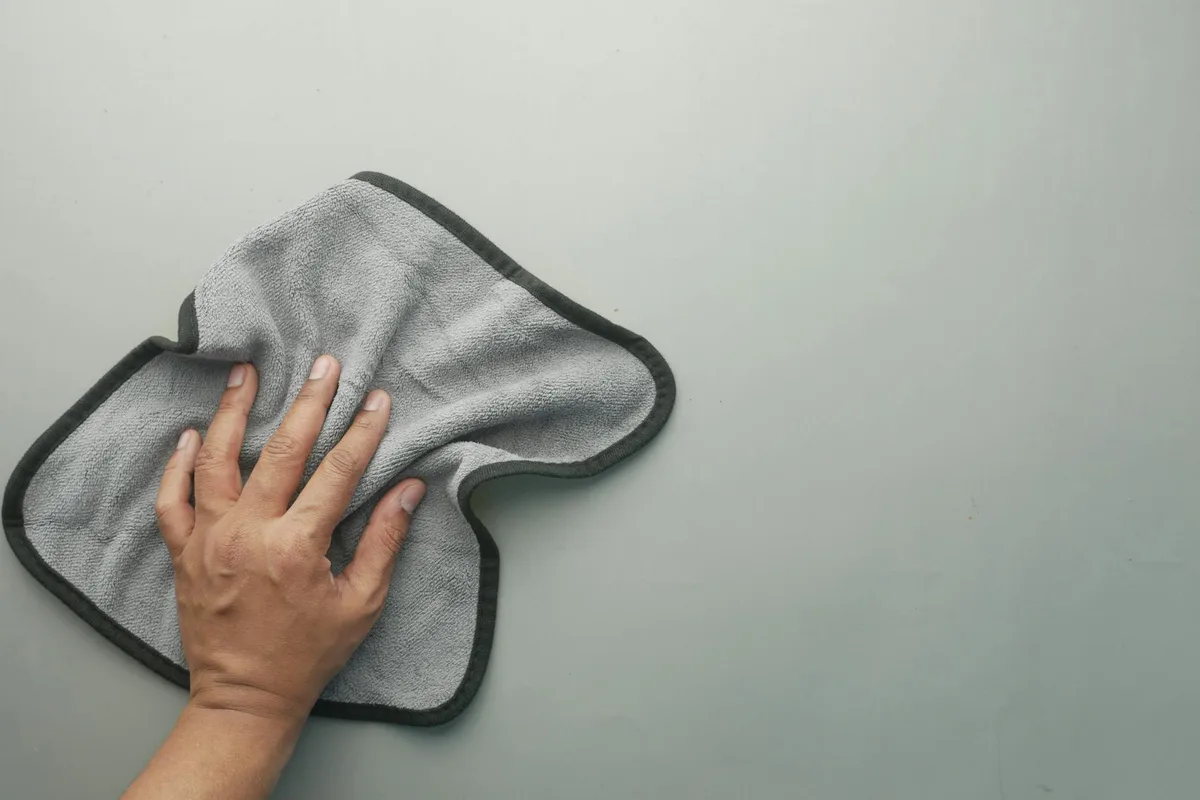
Wiping Down the Earbud Body
Once the ear tips are off, take a dry, lint-free microfiber cloth and gently wipe down the body of the earbuds. This will remove fingerprints and smudges. If there's any very light stickiness, you can slightly dampen a corner of the microfiber cloth with distilled water or a small amount of an electronics-safe cleaning solution. Crucially, wring out the cloth thoroughly so it's barely damp, never wet. Avoid getting any moisture into ports or openings.
Clearing the Charging Case Contacts
For wireless earbuds, use a dry cotton swab to gently clean the charging contacts both on the earbuds and inside the charging case. Sometimes, compressed air (held at a distance and short bursts) can help dislodge loose dust from the case interior, but be careful not to blow debris into the charging port itself.
Tackling Stubborn Earwax & Clogged Grilles
When you've got visible earwax buildup or your sound ports are starting to look clogged, it's time for a slightly more focused approach. This is where precision and the right tools make all the difference, preventing you from pushing gunk further in or damaging the delicate mesh.
Modifying Cotton Swabs for Precision
A standard cotton swab can be too bulky to clean the intricate grille of an earbud effectively. To get better control, try this: gently roll a cotton swab between your fingers to slightly flatten and shape its tip. This makes it more maneuverable for carefully dabbing at small areas of wax or debris around the speaker grille.
If using a cleaning solution, make sure it's designed for electronics or isopropyl alcohol (at 70% concentration is generally safe, but always check manufacturer recommendations). Dampen the modified swab very lightly, we're talking just a touch, not wet. Gently dab, don't scrub, at the wax. You're trying to lift it, not smear it. After dabbing, use a dry, modified swab to pick up any loosened residue.
Using a Dry Soft Brush Effectively
A soft-bristled brush is your best friend for dislodging dry debris from the earbud grille. A clean, unused makeup brush, a small paintbrush, or a dedicated electronic cleaning brush works well. Ensure the bristles are soft and dry. Gently brush away around the edges of the grille and any crevices where dust might hide. Brush outwards, away from the sound port, to avoid pushing particles deeper inside.
Dealing with Clogged Sound Ports
If the sound port is significantly clogged, you might need a bit more patience. After attempting the dampened swab or soft brush method, if you still hear muffled sound, consider dipping the very tip of a cotton swab in cleaning solution (again, very lightly dampened). Gently run this around the edge of the sound port, trying to loosen the compacted material. Never poke directly into the sound port with a sharp object, as this can easily damage the speaker driver or protective membrane. For truly stubborn clogs, sometimes a gentle puff of air from a small bulb blower (like those used for camera lenses) can help, but use it sparingly and from a safe distance.
What NOT to Do: Killer Cleaning Mistakes
When you're trying to get your earbuds back in working order, it's easy to reach for the nearest cleaning tool or spray. However, some common habits can end up doing more harm than good. Understanding these pitfalls is just as important as knowing the right steps.
Drowning Your Earbuds (The Number One Sin)
Manufacturers globally, including those producing devices with IPX4 ratings or higher, advise against submerging earbuds in any liquid. This is critical because even water-resistant earbuds aren't fully waterproof. If liquid seeps into the speaker drivers or charging ports, it can cause short circuits, corrosion, and permanent damage to the internal electronics. Always ensure your earbuds are completely dry before attempting to charge or use them.
Using Harsh Chemicals or Abrasives
Avoid cleaning your earbuds with household cleaners like Windex, bleach, or strong solvents. These can degrade the plastic casing, damage silicone ear tips, and even affect the adhesive holding components together. Similarly, abrasive cloths or paper towels can scratch the earbuds' surfaces, spoiling their finish. Stick to microfiber cloths and electronics-safe cleaners.
Forcefully Poking Obstructions
Never use sharp objects like pins, toothpicks, or paperclips to try and dislodge earwax or debris from speaker grilles or charging ports. These items can easily puncture the delicate mesh screens or scratch internal components, leading to irreparable damage. Patience and gentle methods are far more effective and much safer.
Quick Maintenance Tips for Lasting Sound
Keeping your earbuds sounding great doesn't require a deep clean every week. A few simple habits can significantly reduce buildup and maintain optimal performance between more thorough cleanings. Think of this as preventive care for your audio gear.
- Wipe Down After Use: After each session, especially if you've been exercising, give your earbuds a quick wipe with a dry microfiber cloth. This removes fresh sweat and oils before they have a chance to dry and harden.
- Store Properly: Always store your earbuds in their charging case when not in use. This protects them from dust and debris. Make sure the case itself is clean before docking your earbuds.
- Handle with Clean Hands: Simple, but effective. Wash your hands before handling your earbuds. This reduces the transfer of oils and grime directly onto the earbud surfaces.
- Check Ear Tips: Periodically, just give the silicone ear tips a look. If they feel a bit slick or sticky, a quick rinse with water (and thorough drying) can make a big difference.
When to Consider Professional Help or Replacement
While most earbud cleaning tasks are DIY-friendly, there are times when professional intervention or even replacement might be the smarter move. If you've diligently followed the cleaning steps and are still experiencing significant issues, it's time to look at other options.
If your earbuds are still under warranty, and you suspect a hardware defect rather than dirt, reach out to the manufacturer. They can guide you through their specific warranty claim process. Trying to perform complex repairs yourself could void that warranty.
For particularly expensive or specialized earbuds, some audio shops might offer professional cleaning or repair services. However, for most consumer-grade earbuds, the cost of professional repair often approaches the price of a new pair. If your earbuds are several years old, have been heavily used, or sustained significant damage (like a drop in water), replacement might be the most cost-effective solution.
Your Earbud Cleaning Checklist
To make sure you've covered all your bases, here's a handy checklist. You can run through this after assessing the grime level.
- Inspection: Visually assess earbud condition (grilles, tips, casing, charging contacts).
- Disassembly: Gently remove silicone ear tips if applicable.
- Dry Wipe: Use a dry microfiber cloth on earbud bodies and charging case exterior.
- Damp Cleaning (if needed):
- Use a slightly dampened microfiber cloth (distilled water or approved cleaner) for earbud bodies.
- Use a modified, lightly dampened cotton swab for grilles and crevices.
- Grille & Port Cleaning:
- Use a dry, soft brush for loose debris.
- Use a lightly dampened, modified swab for stubborn wax around ports.
- Ear Tip Cleaning:
- Gently wash silicone tips with mild soap and lukewarm water.
- Rinse thoroughly.
- Charging Case Contact Cleaning:
- Use a dry cotton swab for charging contacts.
- Consider short bursts of compressed air for the case interior (from a distance).
- Drying:
- Allow all components (earbuds, tips, case) to air dry completely before reassembly or charging. This can take several hours.
- Reassembly: Reattach ear tips securely.
- Final Check: Test sound quality and charging functionality.