Check your iPad’s battery widget or Batteries settings to see whether your USB-C Apple Pencil is connected and its battery level is rising.
If you use an iPad for school, work, digital art, or handwritten notes in the United States, a dead Apple Pencil can interrupt your day. The USB-C Apple Pencil does not have a built-in charging light, so you cannot confirm its charging status by looking at the pen alone. Fortunately, you can check its battery level through your iPad and use a few simple tests to find out whether charging is working.
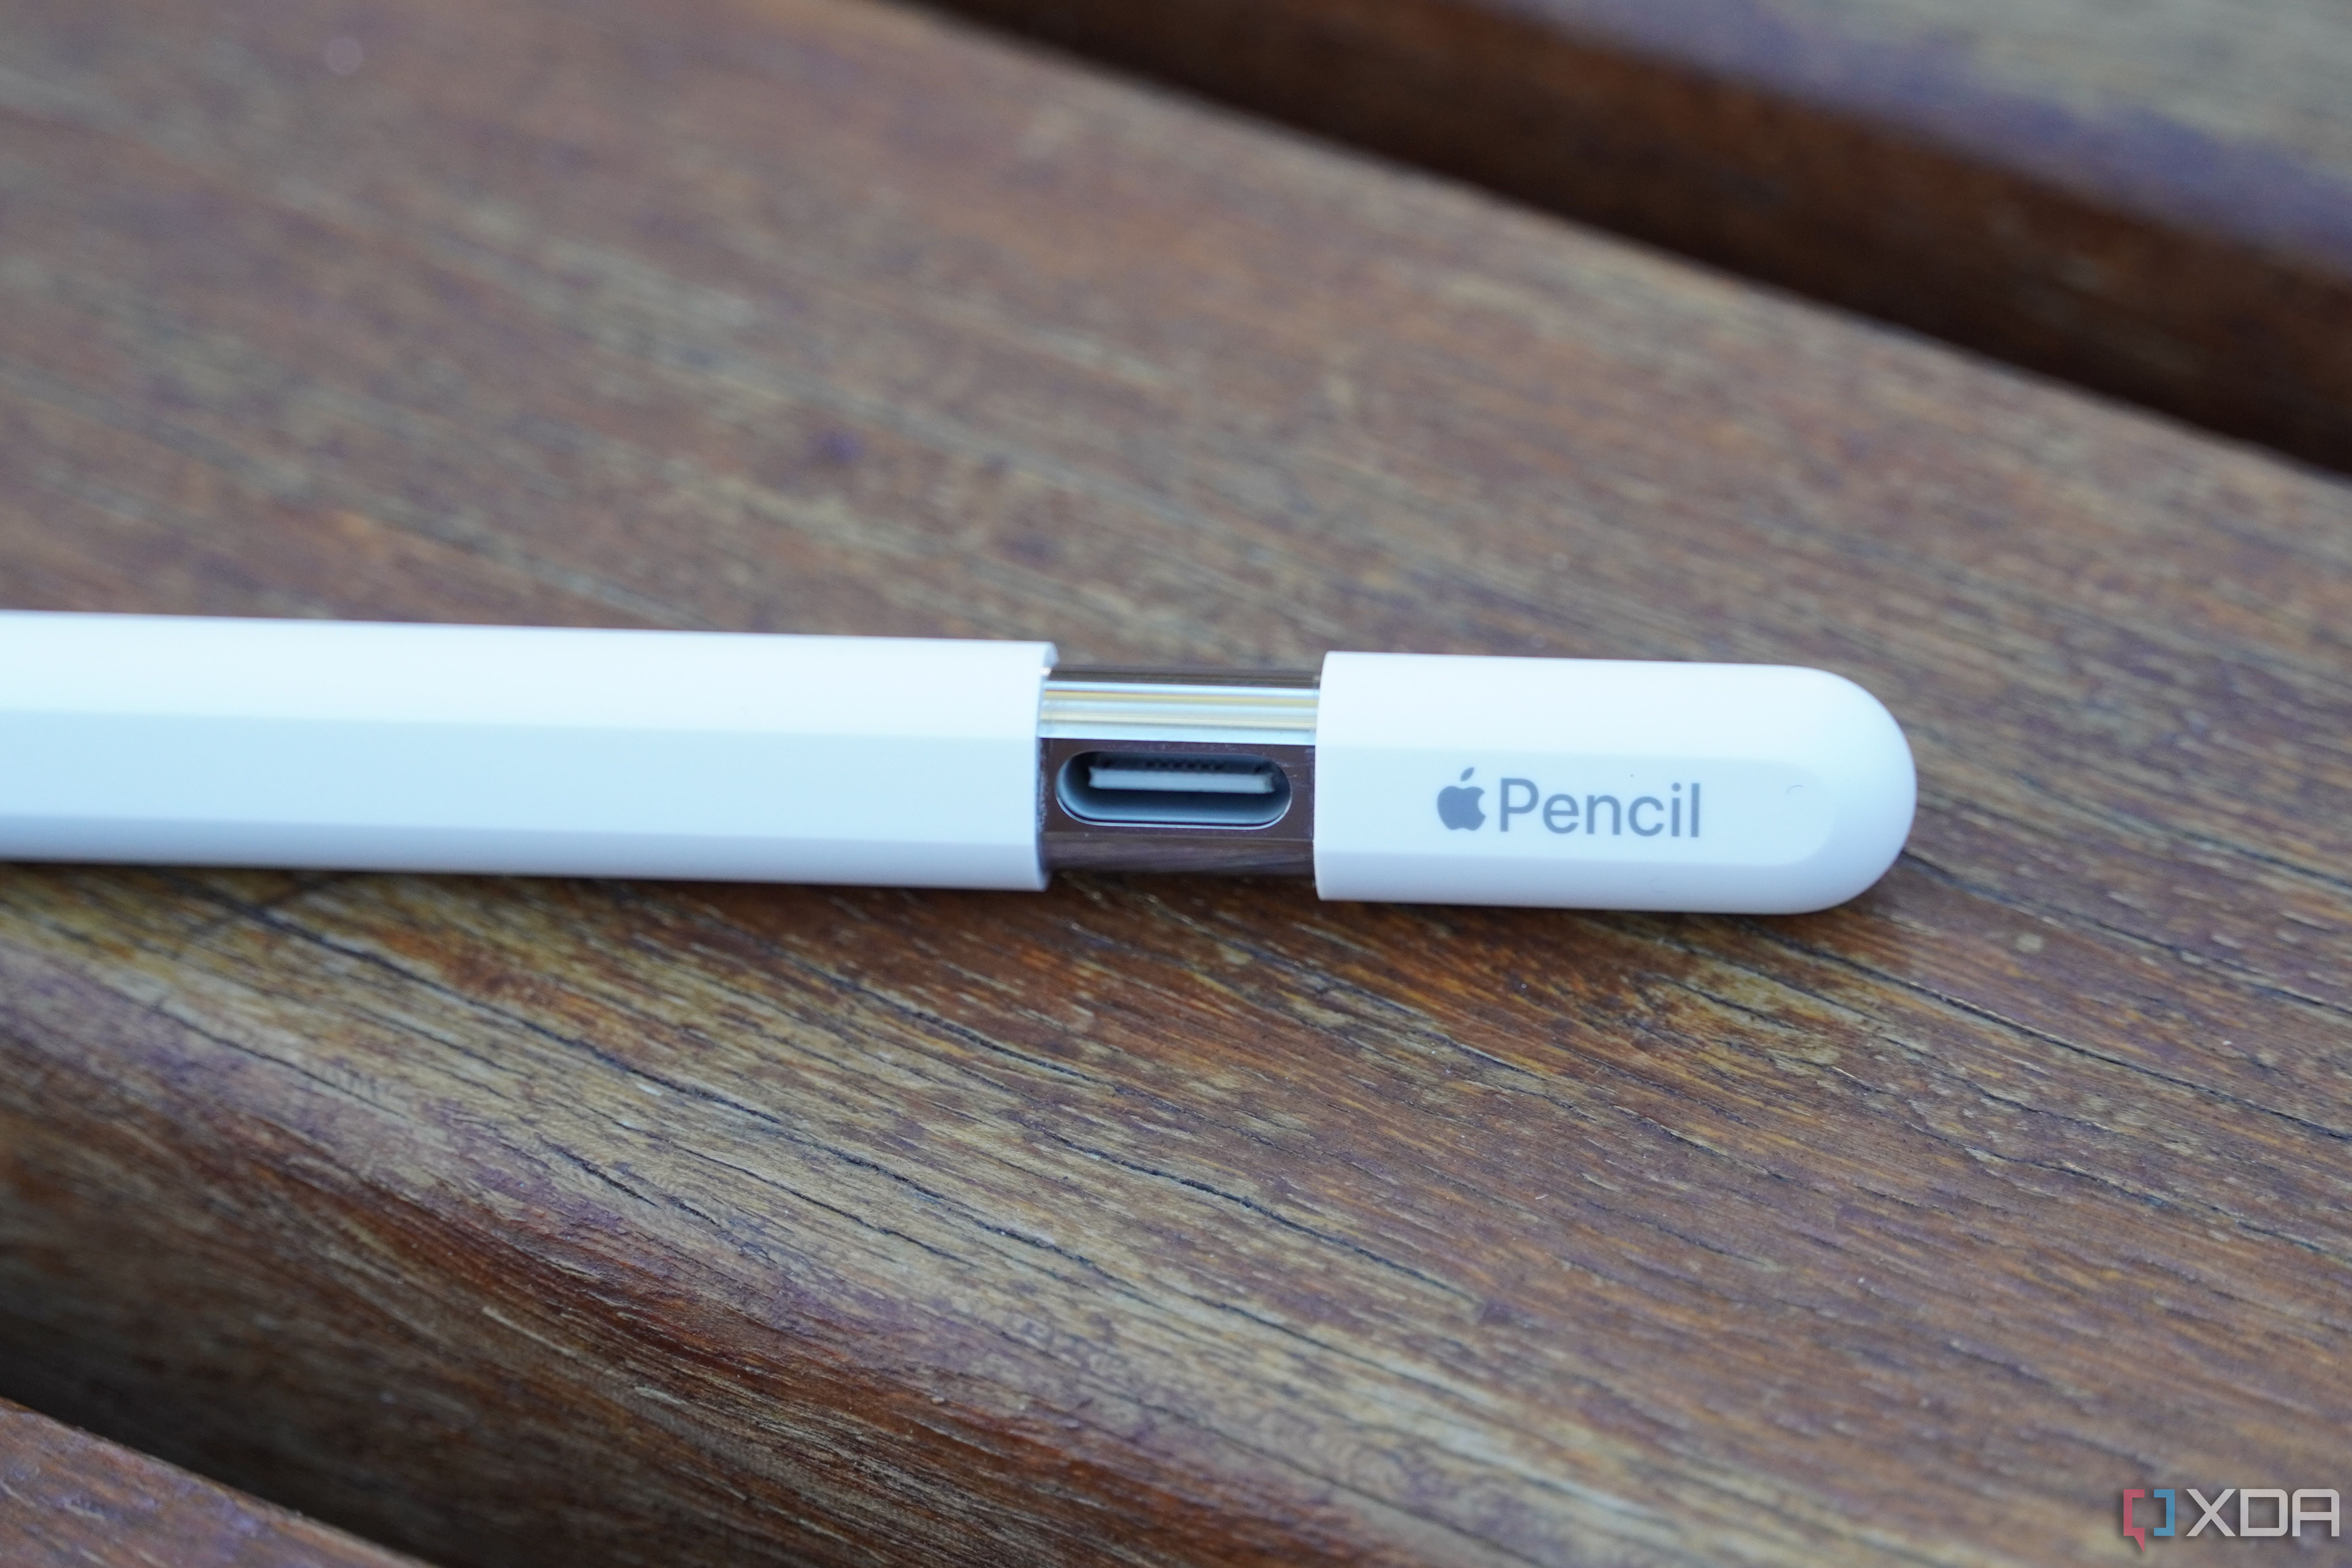
The USB-C Apple Pencil charges through a USB-C cable connected to its charging port beneath the sliding cap. Its magnetic attachment to a compatible iPad helps with storage, but that attachment does not charge the pencil. In this guide, you will learn how to check the battery, connect the right cable, recognize normal behavior, and troubleshoot charging problems without buying extra accessories unnecessarily.
Source: Bing
How to Tell If Your USB-C Apple Pencil Is Charging
The easiest way to tell if your USB-C Apple Pencil is charging is to connect it to a power source with a USB-C cable and check its battery level on your iPad. The pencil itself has no LED or screen to show charging progress. Your iPad provides the most useful way to monitor its remaining battery.
Keep in mind that a battery percentage on the screen does not always prove that the pencil is actively charging at that exact moment. A displayed percentage tells you the reported battery level. To confirm that charging works, compare the level before and after allowing the pencil to charge for a while.
Apple Pencil battery readings may not update instantly. Give the iPad and pencil some time to communicate, then check again. If the percentage rises, that is a strong sign that the charging process is working.
Source: Bing
Check the battery percentage
Open the Batteries widget on your iPad, if available, and look for Apple Pencil. The displayed percentage helps you understand how much charge remains.
Look for a changing battery level
Record the starting percentage, connect the pencil to a suitable charger, and check again later. A higher percentage indicates that the battery is gaining charge.
Confirm the cable connection
Make sure the USB-C plug is fully inserted into the pencil’s charging port and the other end is connected to a working power source.
Test the pencil after charging
Disconnect the cable, pair the pencil with your compatible iPad if needed, and try writing or drawing in a note-taking app.
Does the USB-C Apple Pencil Have a Charging Light?
No. The USB-C Apple Pencil does not have a built-in charging light that turns red, green, or white. You should not expect an indicator to appear on the pencil when you connect a cable.
This design makes the iPad’s battery information especially useful. If you cannot find a battery percentage, check that the pencil is compatible with your iPad, that it is connected correctly, and that Bluetooth is enabled when needed for connection and pairing.
No light does not mean no charge
The absence of a light is normal and does not indicate a fault.
Use digital battery information
Check the Batteries widget or other available battery information on your iPad rather than looking for a light on the pencil.
How to Check the USB-C Apple Pencil Battery on an iPad
Your iPad can show the Apple Pencil battery level through the Batteries widget when the device is recognized and the required information is available. This is usually the simplest method because it lets you check the battery without disconnecting the charging cable.
The exact appearance of the widget can vary with the iPadOS version and your home screen setup. If Apple Pencil does not appear right away, try the steps below and allow time for the devices to connect.
Source: Bing
Step 1: Unlock your iPad
Turn on your iPad and unlock it. Keep the pencil nearby, connected to the charging cable or ready to pair.
Step 2: Find the Batteries widget
Look for a Batteries widget on the Home Screen or Today View. If you do not have one, touch and hold an empty area of the Home Screen, enter the widget gallery, search for Batteries, and add the widget.
Step 3: Check the listed device
Look for Apple Pencil in the widget. If it appears, read the percentage shown beside it.
Step 4: Connect the charger
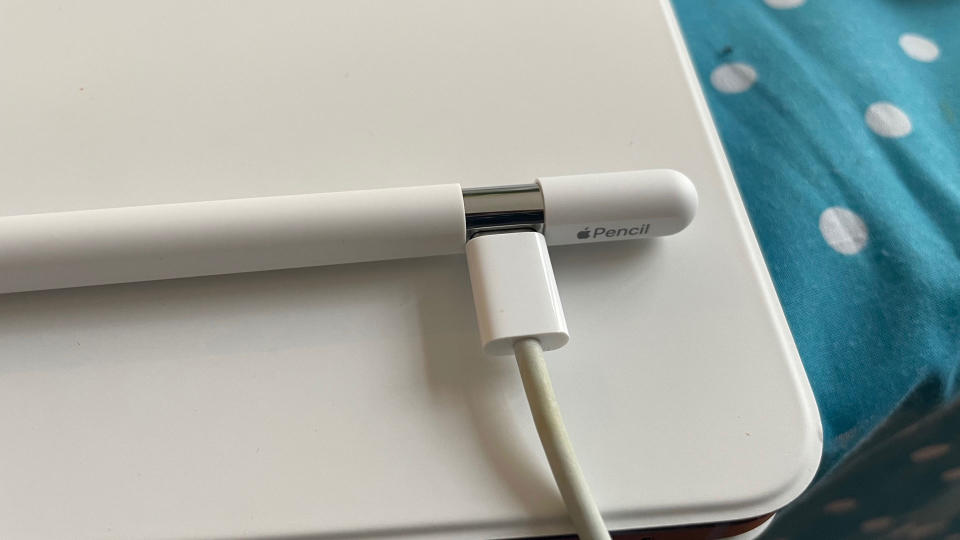
Open the sliding cap on the pencil and insert a compatible USB-C cable. Connect the other end to a working power source.
Step 5: Check again
Wait for a reasonable period, then check the battery percentage again. An increase is a useful sign that the pencil is charging.
What If Apple Pencil Does Not Appear in the Batteries Widget?
A missing pencil entry does not automatically mean the battery is dead. The pencil may not be paired, the connection may not be active, or the widget may not yet have refreshed its information.
Make sure Bluetooth is enabled, check that the pencil is compatible with your iPad, and follow Apple’s pairing instructions for your model. If the pencil has a very low battery, connect it to power and give it time before checking again.
Refresh the connection
Disconnect and reconnect the USB-C cable, then allow the iPad to update the battery information.
Check pairing
Follow the USB-C Apple Pencil pairing process. Connecting the charging cable supplies power, while pairing establishes the connection with the iPad.
Restart the iPad
If the battery information still does not appear, restart the iPad and check again after it starts.
How to Charge the USB-C Apple Pencil Correctly
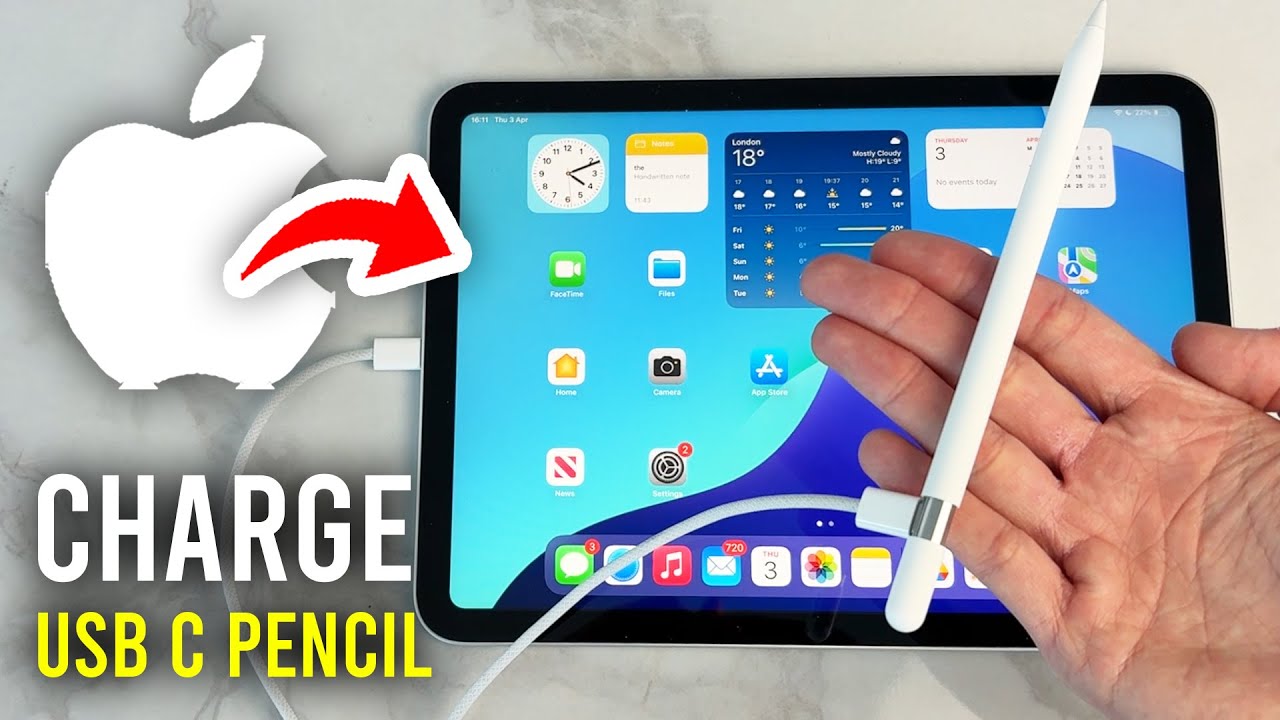
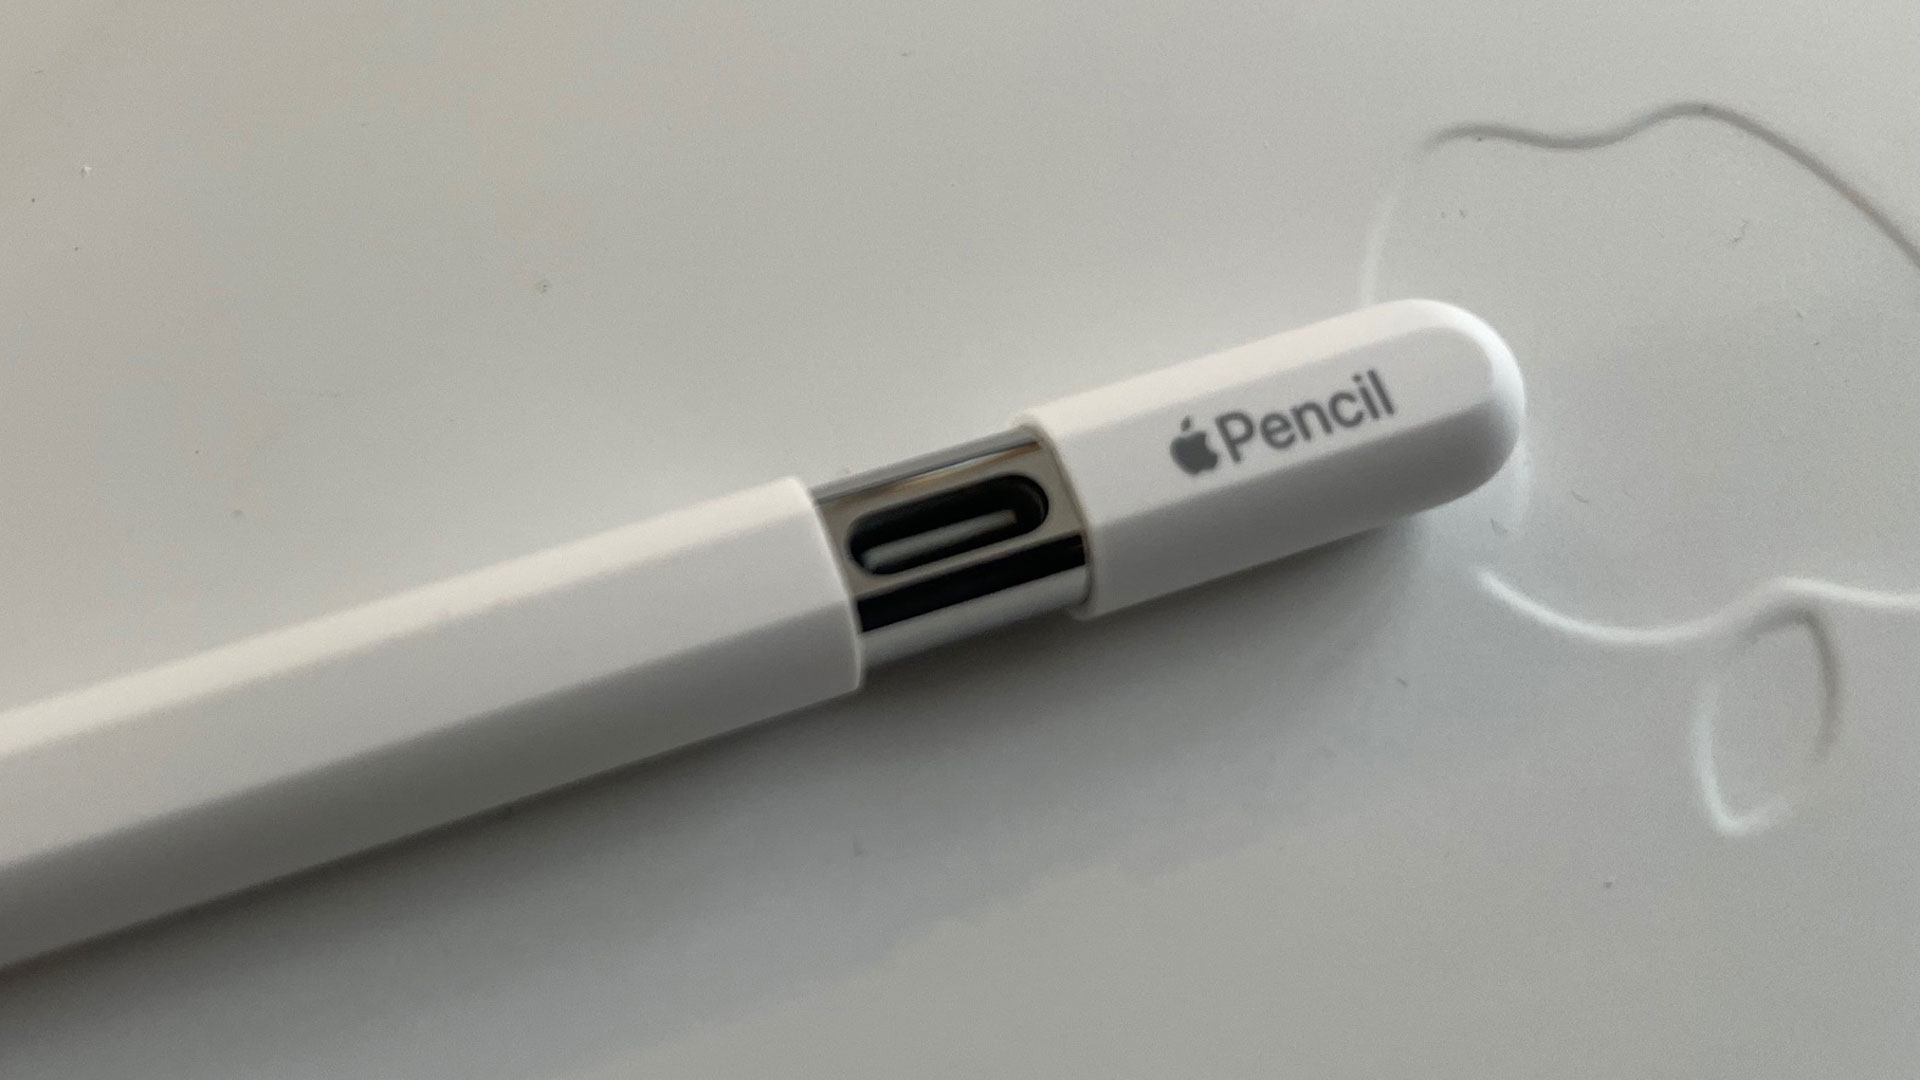
The USB-C Apple Pencil charges through its built-in USB-C port. You must slide open the cap at the end of the pencil to expose that port. Then connect a compatible USB-C cable and attach the other end to a suitable power source.
The pencil’s magnetic attachment is for storage, not wireless charging. Even if the pencil stays attached to the side of your iPad, you must use a cable to charge it. This differs from certain other Apple Pencil models that support magnetic wireless charging with compatible iPads.
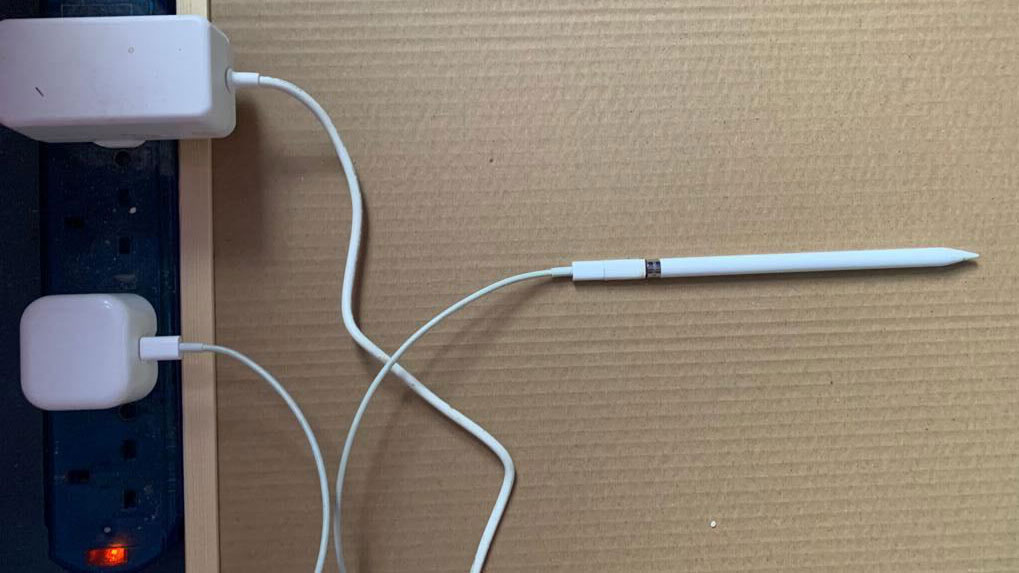
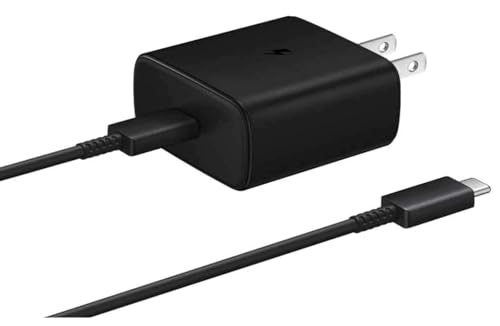
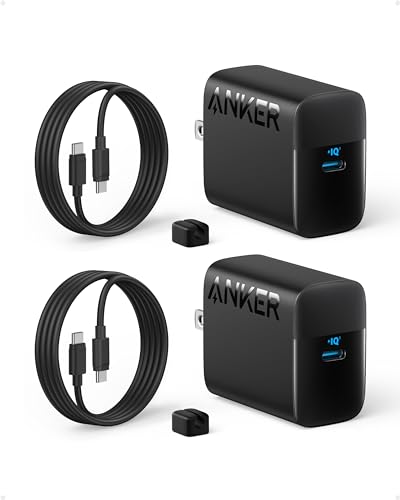
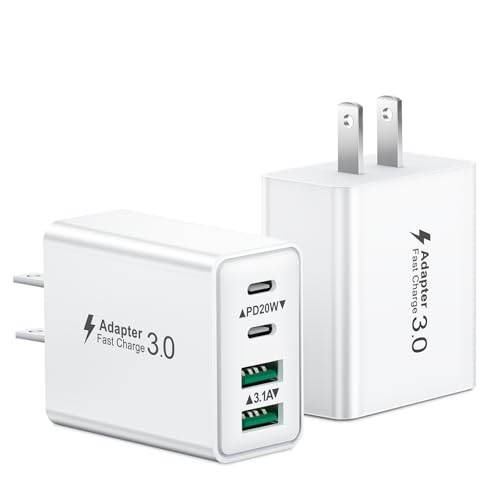
You can use an appropriate USB-C power source, such as a compatible iPad power adapter or a suitable computer USB-C port. Charging speed can vary with the power source, battery state, and other conditions. Use a sound cable and avoid forcing the plug into the port.
Source: Bing
Step 1: Slide open the cap
Gently move the sliding cap to reveal the USB-C charging port. Do not pull or twist the cap beyond its intended movement.
Step 2: Inspect the cable
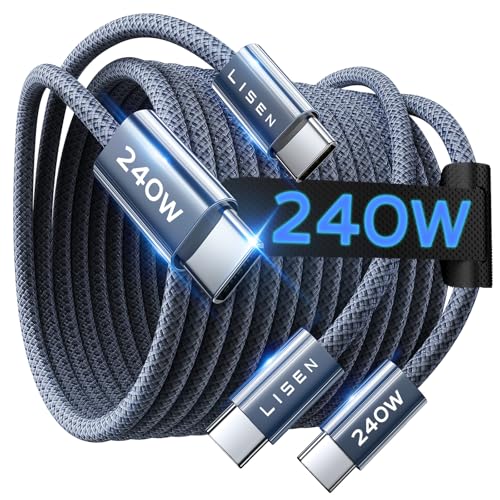
Use an undamaged USB-C cable with a connector that fits properly. Avoid cables with bent ends, exposed wires, or signs of heat damage.
Step 3: Connect the pencil
Insert the cable into the pencil’s USB-C port without forcing it. The plug should fit normally.
Step 4: Connect a power source
Plug the other end into a working USB-C power adapter or computer port that can provide power.
Step 5: Check the battery level
Use your iPad’s Batteries widget or available battery information to monitor the percentage. Check again later to see whether it rises.
Can You Charge the USB-C Apple Pencil by Attaching It to the iPad?
No. The USB-C Apple Pencil attaches magnetically to the side of compatible iPads for storage, but that magnetic attachment does not provide wireless charging. A pencil that stays attached may still have a low battery.
If the pencil needs power, slide open its cap and connect a USB-C cable. Do not assume that a magnetic connection means charging has started.
Magnetic attachment
Helps keep the pencil in place on compatible iPads.
USB-C cable
Provides the wired charging connection needed by this Apple Pencil model.
How Long Does the USB-C Apple Pencil Take to Charge?
The time required to charge a USB-C Apple Pencil depends on its starting battery level, the power source, and the condition of its battery. Apple does not provide a universal charging time that guarantees the same result for every situation, so avoid treating a specific number of minutes as a rule.
If your pencil has only a small amount of charge left, connect it to a suitable power source and check its battery percentage periodically. A deeply discharged battery may take time before its status becomes visible or before the pencil responds normally.
You do not need to watch the percentage continuously. Check it when you connect the cable and again after allowing some charging time. If the level rises, the battery is receiving charge. If it remains unchanged over repeated checks, move to the troubleshooting steps in this guide.
Source: Bing
Starting battery level
A nearly empty battery generally needs more charging time than one that is already partly charged.
Power source
A working, suitable power source is necessary. A faulty computer port, adapter, or cable may prevent normal charging.
Battery condition
A battery that has been unused for a long period may respond differently from one in normal daily use.
Temperature
Very hot or cold conditions can affect battery operation. Let the pencil return to a normal indoor temperature before charging if it feels unusually hot or has been exposed to extreme cold.
Should You Leave the Apple Pencil Plugged In Overnight?
For routine use, there is usually no need to leave the pencil connected overnight just to check whether it is charging. You can connect it, confirm that the battery level rises, and disconnect it when you have enough charge for your needs.
Use the cable and power adapter according to their instructions, and avoid charging on bedding or other surfaces that can trap heat. If the pencil or cable becomes unusually hot, smells burnt, or shows physical damage, disconnect power if it is safe to do so and stop using the damaged equipment.
Check before leaving it
Confirm that the cable is seated correctly and the power source works.
Keep the charging area clear
Place the pencil on a dry, stable surface away from heat and liquids.
Signs Your USB-C Apple Pencil Is Not Charging
The clearest warning sign is a battery percentage that does not increase after you have connected the pencil to a working power source and allowed enough time for the battery information to update. However, one unchanged reading is not enough to prove that charging has failed.
Check the connection first. A loose cable, a damaged port, an unsuitable power source, or a software issue can cause symptoms that look like a failed battery. Testing one item at a time helps you find the cause without replacing working equipment.
If the pencil does not write, that also does not prove it is failing to charge. Pairing, compatibility, app behavior, and the nib can affect writing even when the battery has power. Treat charging and writing as related but separate checks.
Source: Bing
The percentage stays the same
Reconnect the cable, use another known-working USB-C cable if available, and check the percentage again after some time.
The pencil is not listed
Check Bluetooth, pairing, compatibility, and the Batteries widget before assuming a battery fault.
The pencil will not write
Check its battery, pairing, compatible iPad support, and whether the app supports Apple Pencil input.
The connector feels loose
Stop forcing the plug. Inspect the cable and port for visible damage and seek service if the connection remains unreliable.
The pencil becomes unusually hot
Disconnect the power source if safe and stop charging until the cause has been assessed. Do not continue using damaged or overheating equipment.
Troubleshooting Step 1: Try a Different USB-C Cable
A USB-C cable can look normal and still fail to carry power. If the battery percentage does not change, try another undamaged USB-C cable that is known to work with a suitable power source.
Make only one change at a time. If the pencil starts charging with a different cable, the original cable or its connector may be the cause. If nothing changes, continue checking the power source.
Use a known-working cable
Test with a cable that can supply power to another compatible device.
Avoid damaged accessories
Do not use frayed, crushed, wet, or visibly damaged cables.
Troubleshooting Step 2: Change the Power Source
If a different cable does not help, connect the pencil to another suitable USB-C power source. You can try a compatible wall adapter or a working computer port.
If the pencil charges from one source but not another, the original power source or port may be at fault. Do not assume that every USB-C port behaves identically or that every adapter is functioning correctly.
Test a suitable adapter
Use a compatible, undamaged adapter from a reliable source.
Check the outlet or computer port
Confirm that the power source works with another device before using it for further testing.
Troubleshooting Step 3: Check the USB-C Port
Look at the pencil’s USB-C port for obvious debris or damage. If the cable does not fit normally, do not force it or insert sharp tools into the port.
Do not pour cleaning fluid into the connector or try to remove debris with a metal object. If you suspect moisture, corrosion, or internal damage, stop charging and seek qualified service advice.
Inspect without probing
Use good lighting to look for visible obstruction or damage without pushing objects into the port.
Stop if the port is damaged
A bent connector, corrosion, or a loose port should be assessed by a qualified service provider.
Troubleshooting Step 4: Restart and Recheck the iPad
If the cable and power source work but the battery level remains unavailable, restart the iPad. Make sure Bluetooth is enabled and follow the pairing instructions for the USB-C Apple Pencil.
After restarting, reconnect the pencil to power and check the battery information again. If the pencil remains unrecognized, verify that your exact iPad model supports the USB-C Apple Pencil and that the operating system is up to date where applicable.
Restart the iPad
A restart can help resolve temporary software or connection issues.
Verify compatibility
Check Apple’s current compatibility information for your exact iPad model rather than relying only on the connector shape.
Troubleshooting Step 5: Know When to Seek Service
If the pencil still will not charge after you have tested a working cable and power source, checked the port, and restarted the iPad, the issue may involve the battery or internal hardware.
Contact Apple Support or an authorized service provider for guidance. Avoid opening the pencil or attempting a battery repair yourself, as its compact internal parts are not designed for routine user repair.
Seek help for persistent failure
Professional assessment is appropriate when several known-working charging setups fail.
Stop for heat or physical damage
Do not keep charging a pencil with signs of swelling, burning, liquid damage, or unusual heat.
USB-C Apple Pencil Charging Versus Other Apple Pencil Models
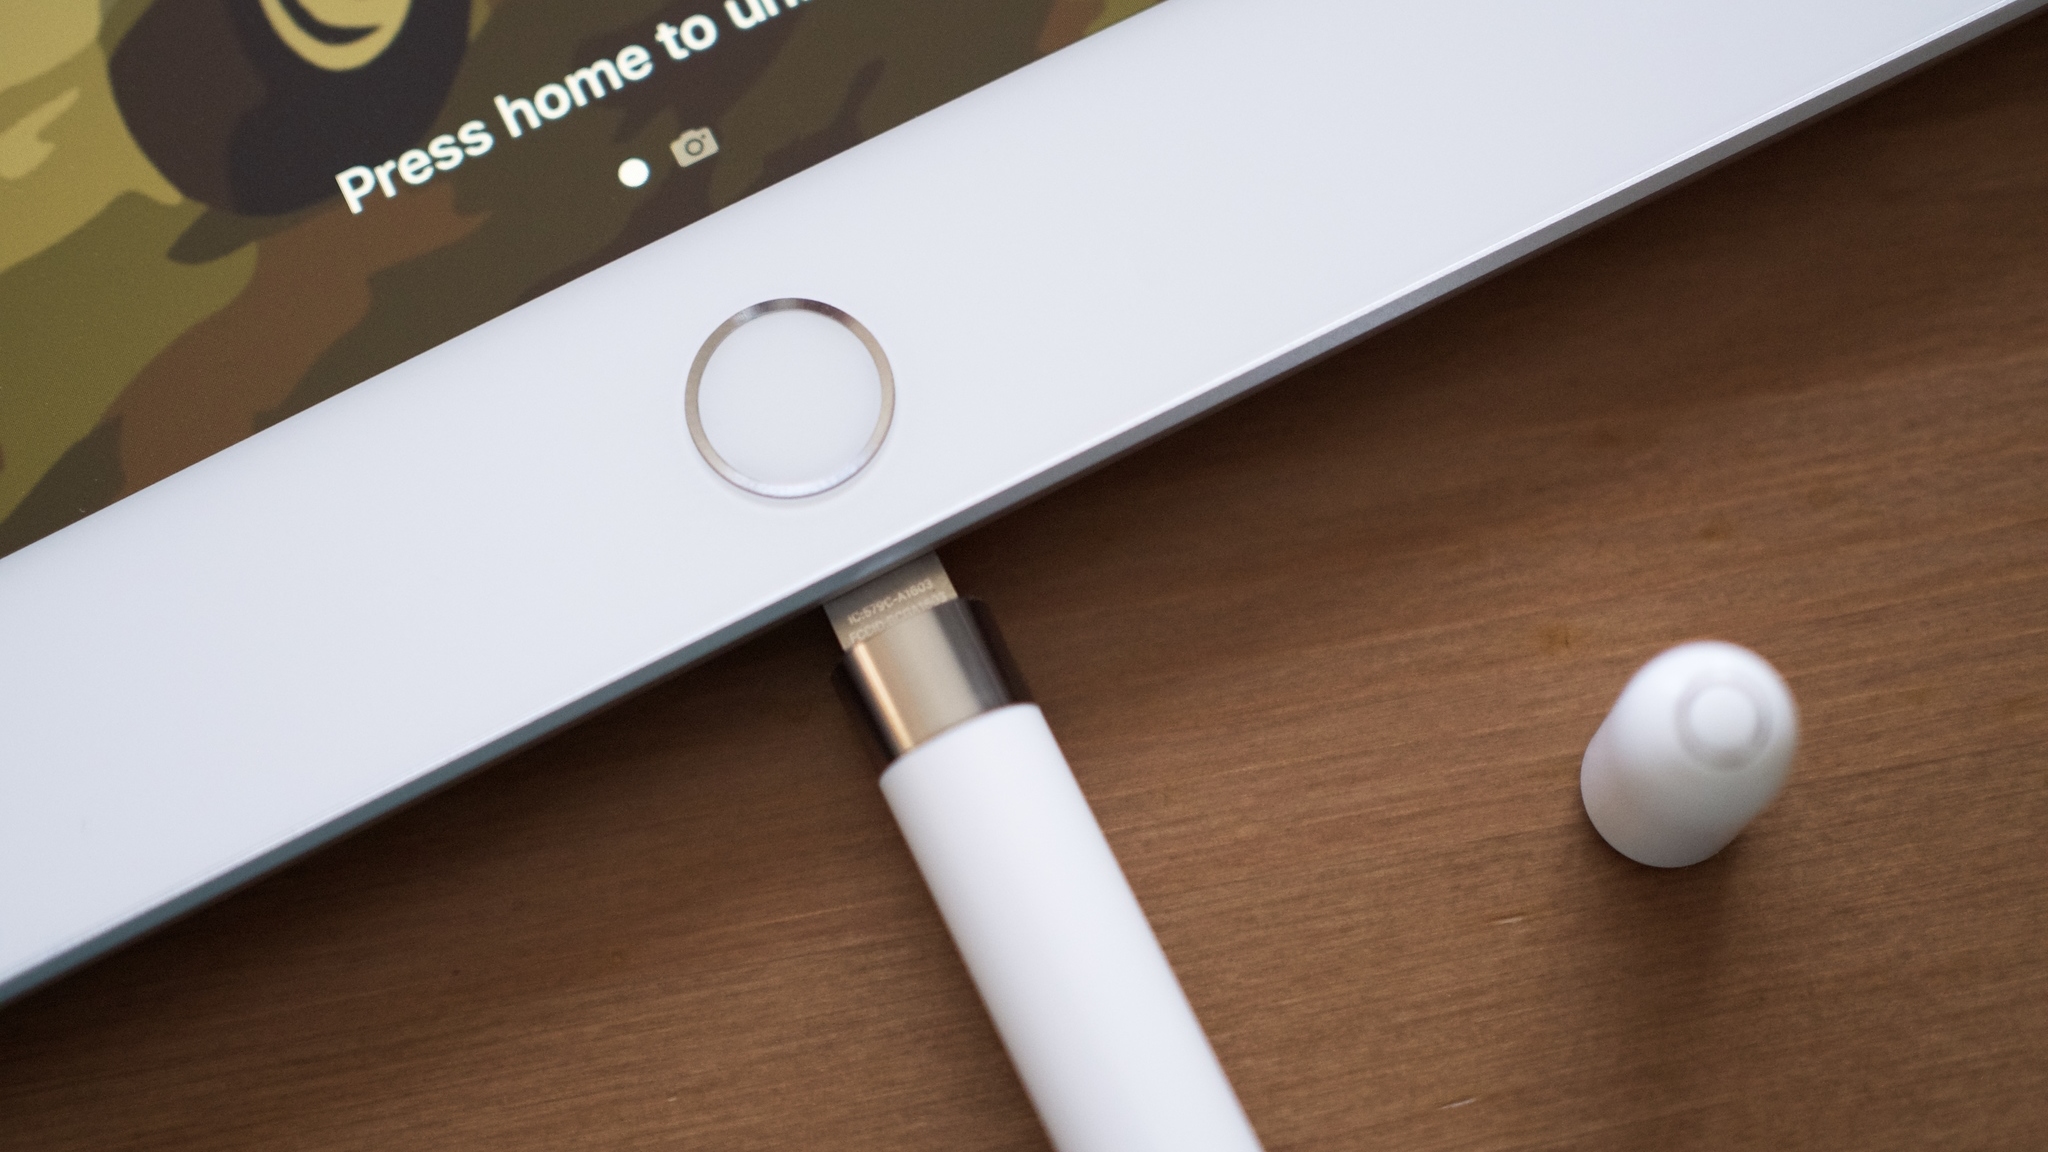
Apple sells several Pencil models, and their charging methods differ. Make sure you know which one you own before following a charging guide. The USB-C Apple Pencil uses a sliding cap and a USB-C cable, while other models may use a magnetic charging connection or a different connector arrangement.
This distinction matters because a charging method that works for one model may not work for another. A magnetic attachment does not mean every Apple Pencil supports wireless charging, and a USB-C charging cable does not replace the required adapter for a different connector type.
Source: Bing
Apple Pencil USB-C
Uses a built-in USB-C port under a sliding cap for wired charging. Magnetic attachment to a compatible iPad is for storage.
Apple Pencil second generation
Supports magnetic attachment and wireless charging on compatible iPad models. It does not use the same sliding USB-C charging port as the USB-C model.
Apple Pencil Pro
Supports magnetic attachment and charging on compatible iPad models. Check Apple’s compatibility information for the exact iPad and Pencil combination.
Apple Pencil first generation
Uses a different charging design, depending on the version and the required adapter. Follow the instructions for that specific model.
How to Avoid Using the Wrong Charging Method
Check the product name on the packaging, purchase receipt, or Apple device information when available. If you are unsure, compare the physical design and charging port with Apple’s official model descriptions.
Do not buy an adapter simply because another Apple Pencil owner uses it. Confirm the exact model and its charging requirements first. This can prevent wasted money and reduce the risk of damaging a connector through an incorrect setup.
Identify the model first
Confirm whether you have the USB-C, first-generation, second-generation, or Pro model.
Check the iPad model
Pencil compatibility depends on the specific iPad, not just whether the iPad has a USB-C port.
Common Mistakes When Checking Apple Pencil Charging
Many charging problems come from using the wrong method or relying on a sign that does not actually confirm charging. A few simple checks can save time and help you avoid replacing a working pencil.
The most reliable approach is to check the battery percentage, verify the cable connection, and test the power source. Treat symptoms as clues rather than proof of a specific fault.
Source: Bing
Mistake: Expecting a light to turn on
The USB-C Apple Pencil has no charging light. Use the iPad’s battery information instead.
Mistake: Assuming magnetic attachment means charging
The USB-C model attaches magnetically for storage but still needs a USB-C cable to charge.
Mistake: Checking the percentage only once
Battery information may take time to refresh. Compare readings after allowing the pencil to charge.
Mistake: Assuming a USB-C plug guarantees compatibility
A connector that fits does not establish that the iPad supports the pencil. Check the exact model combination.
Mistake: Replacing the pencil too soon
Test the cable and power source before concluding that the battery or pencil has failed.
Mistake: Forcing the charging connector
A connector should fit normally. Forcing it can damage the port or cable.
A Simple Charging Check You Can Repeat
Use the same short routine whenever you are unsure about the battery. First, record the percentage shown on the iPad. Then connect the pencil to a known-working power source and check again after a reasonable interval.
If the reading increases, charging is working. If it does not, change one part of the setup at a time, beginning with the cable. This method helps separate a charging issue from a battery display or pairing problem.
Record the starting level
Write down the battery percentage if one is available.
Connect and wait
Use a suitable cable and power source, then allow time for the reading to update.
Compare the results
Look for a higher percentage and test another cable or source if the level remains unchanged.
How to Keep Your USB-C Apple Pencil Ready for Daily Use
A few basic habits can help you avoid finding a dead pencil when you need to take notes in class, mark up a work document, or sketch an idea. Check the battery before a long session and charge the pencil when the level is low enough to concern you.
Store the pencil in a clean, dry place and avoid putting pressure on the charging port. When you carry it in a backpack, keep it away from loose metal objects and liquids that could damage the connector. Magnetic attachment may help keep it close to a compatible iPad, but it does not replace charging.
If you use the pencil only occasionally, check its battery before a major project. Do not leave a malfunctioning pencil connected indefinitely in the hope that it will recover. If it repeatedly fails to charge, use the troubleshooting steps and contact support when needed.
Source: Bing
Check before important work
Look at the battery level before class, a meeting, a trip, or a long drawing session.
Use sound charging accessories
Choose a suitable USB-C cable and power source, and replace damaged accessories.
Keep the connector dry
Do not connect a wet pencil or wet cable. Follow qualified service guidance if liquid enters the port.
Avoid unnecessary purchases
Test your existing cable and power source before buying a new charger or replacing the pencil.
What to Do Before a Class, Meeting, or Flight
Before leaving home or the office, open the Batteries widget and check the pencil’s remaining charge. If the level is low, connect it to power and confirm that the percentage rises.
For travel within the United States or abroad, carry a suitable USB-C cable and a compatible power adapter if you expect to use the pencil for extended periods. You do not need a special wireless charging accessory for the USB-C Apple Pencil.
Check the battery early
Avoid waiting until you are ready to work to find out that the pencil needs charging.
Pack the right cable
A compatible, undamaged USB-C cable is the key charging accessory for this model.
Frequently Asked Questions
Q
How do I know if my USB-C Apple Pencil is charging?
Connect the pencil’s USB-C port to a working power source with a suitable USB-C cable. Then check the Batteries widget on your iPad. If the battery percentage rises after some time, the pencil is charging. The USB-C Apple Pencil does not have a charging light.
Q
Why is my USB-C Apple Pencil not showing a battery percentage?
The pencil may not be paired or recognized by the iPad, or the battery information may not have updated. Enable Bluetooth, check compatibility, connect the pencil to power, and give it time to respond. You can also add the Batteries widget or restart the iPad.
Q
Can I charge my USB-C Apple Pencil by attaching it to the iPad?
No. Magnetic attachment on compatible iPads is for storage, not wireless charging, with the USB-C Apple Pencil. Open the sliding cap and connect a USB-C cable to charge it.
Q
Does the USB-C Apple Pencil have a charging light?
No. The USB-C Apple Pencil does not include an LED charging indicator. Check its battery level through your iPad instead.
Q
What should I do if my Apple Pencil battery percentage does not increase?
Check that the cable is fully connected and the power source works. Try another known-working USB-C cable and a different suitable power source. Inspect the charging port for visible damage without inserting tools, and restart the iPad if the battery information remains unavailable. If the pencil still will not charge, contact Apple Support or an authorized service provider.
Q
Can I use any USB-C cable to charge the USB-C Apple Pencil?
Use an undamaged USB-C cable that fits the pencil’s port and works with a suitable power source. If charging does not start, test a cable known to supply power. Never force a plug or use a cable with exposed wires or other damage.
Q
How long does it take to charge the USB-C Apple Pencil?
Charging time depends on the remaining battery level, power source, battery condition, and temperature. Rather than relying on one fixed time, check the battery level before charging and compare it again after allowing some time for the percentage to update.
Q
Can I use my Apple Pencil while it is charging?
The USB-C Apple Pencil connects to power through a cable that occupies its charging port. The cable may make normal writing or drawing awkward, and the exact behavior can depend on the setup. For the most practical use, charge the pencil first, disconnect the cable, and then write or draw.
✦ Wrapping Up
Conclusion
The simplest way to tell if your USB-C Apple Pencil is charging is to check its battery percentage on your iPad before and after connecting a USB-C cable. The pencil has no charging light, so the battery information is more useful than looking for a visual signal on the device itself.
If the battery percentage does not rise, do not assume the pencil is broken right away. Check the cable, test another suitable power source, inspect the port safely, and confirm that your iPad supports the model. If those steps do not help, Apple Support or an authorized service provider can help determine whether the pencil needs repair or replacement.
💡 Key Takeaway
Open the Batteries widget on your iPad, note the Apple Pencil battery percentage, connect a known-working USB-C cable, and check again after allowing time for the reading to update. A rising percentage is the clearest practical sign that charging is working.